Quick Links
Taking over Britannia is no easy feat in the eponymous Warlord: Britannia. It’s a big place with a lot of people, and you aren’t exactly going into this with much of a plan. It’s just you, a few sticks, and a dozen or so loyal men at your back. Danger, peril, and death are around every nook, cranny, and bush, and it’s up to you to figure it all out.
There are a number of systems that play into Warlord: Britannia, but combat is most definitely one of the more important ones. You can’t conquer land for the Emperor without fighting, so getting to grips with how it all works is an absolute must. Here’s everything you need to know.
Hold The Line
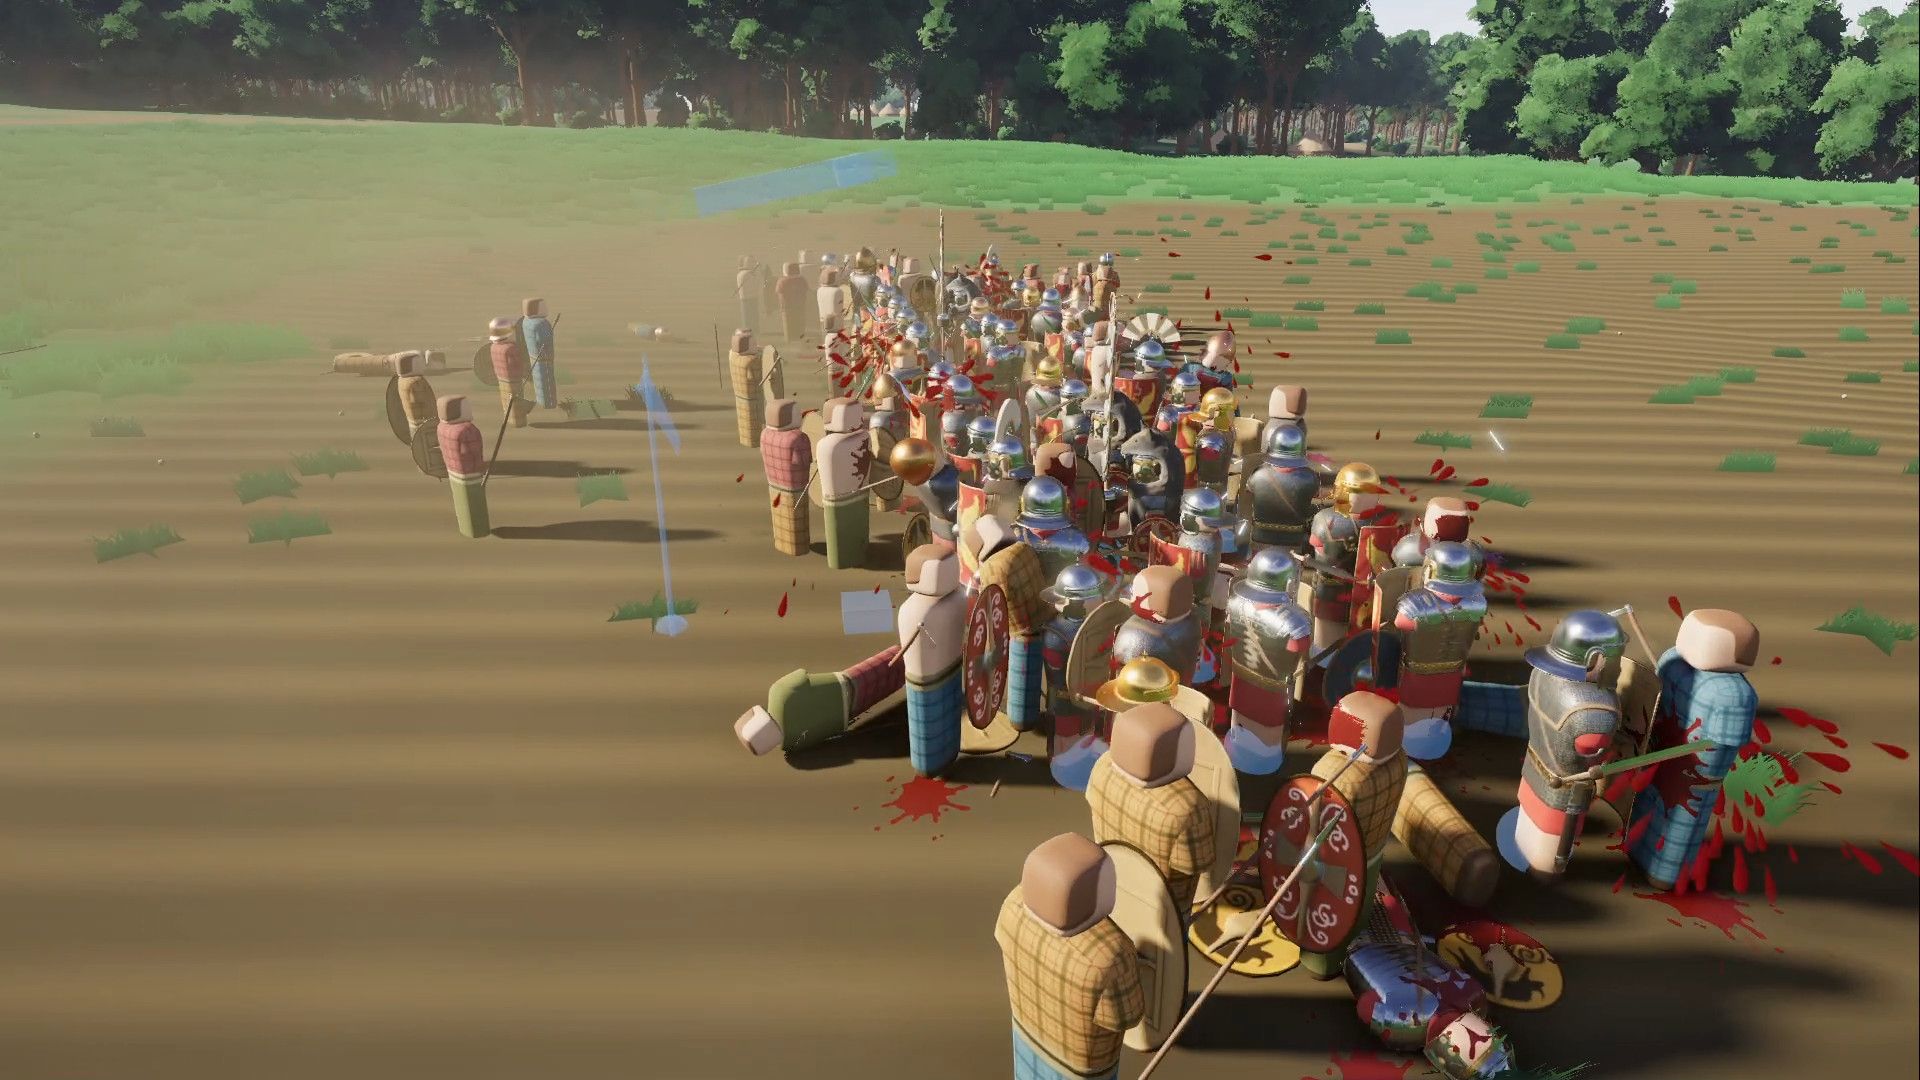
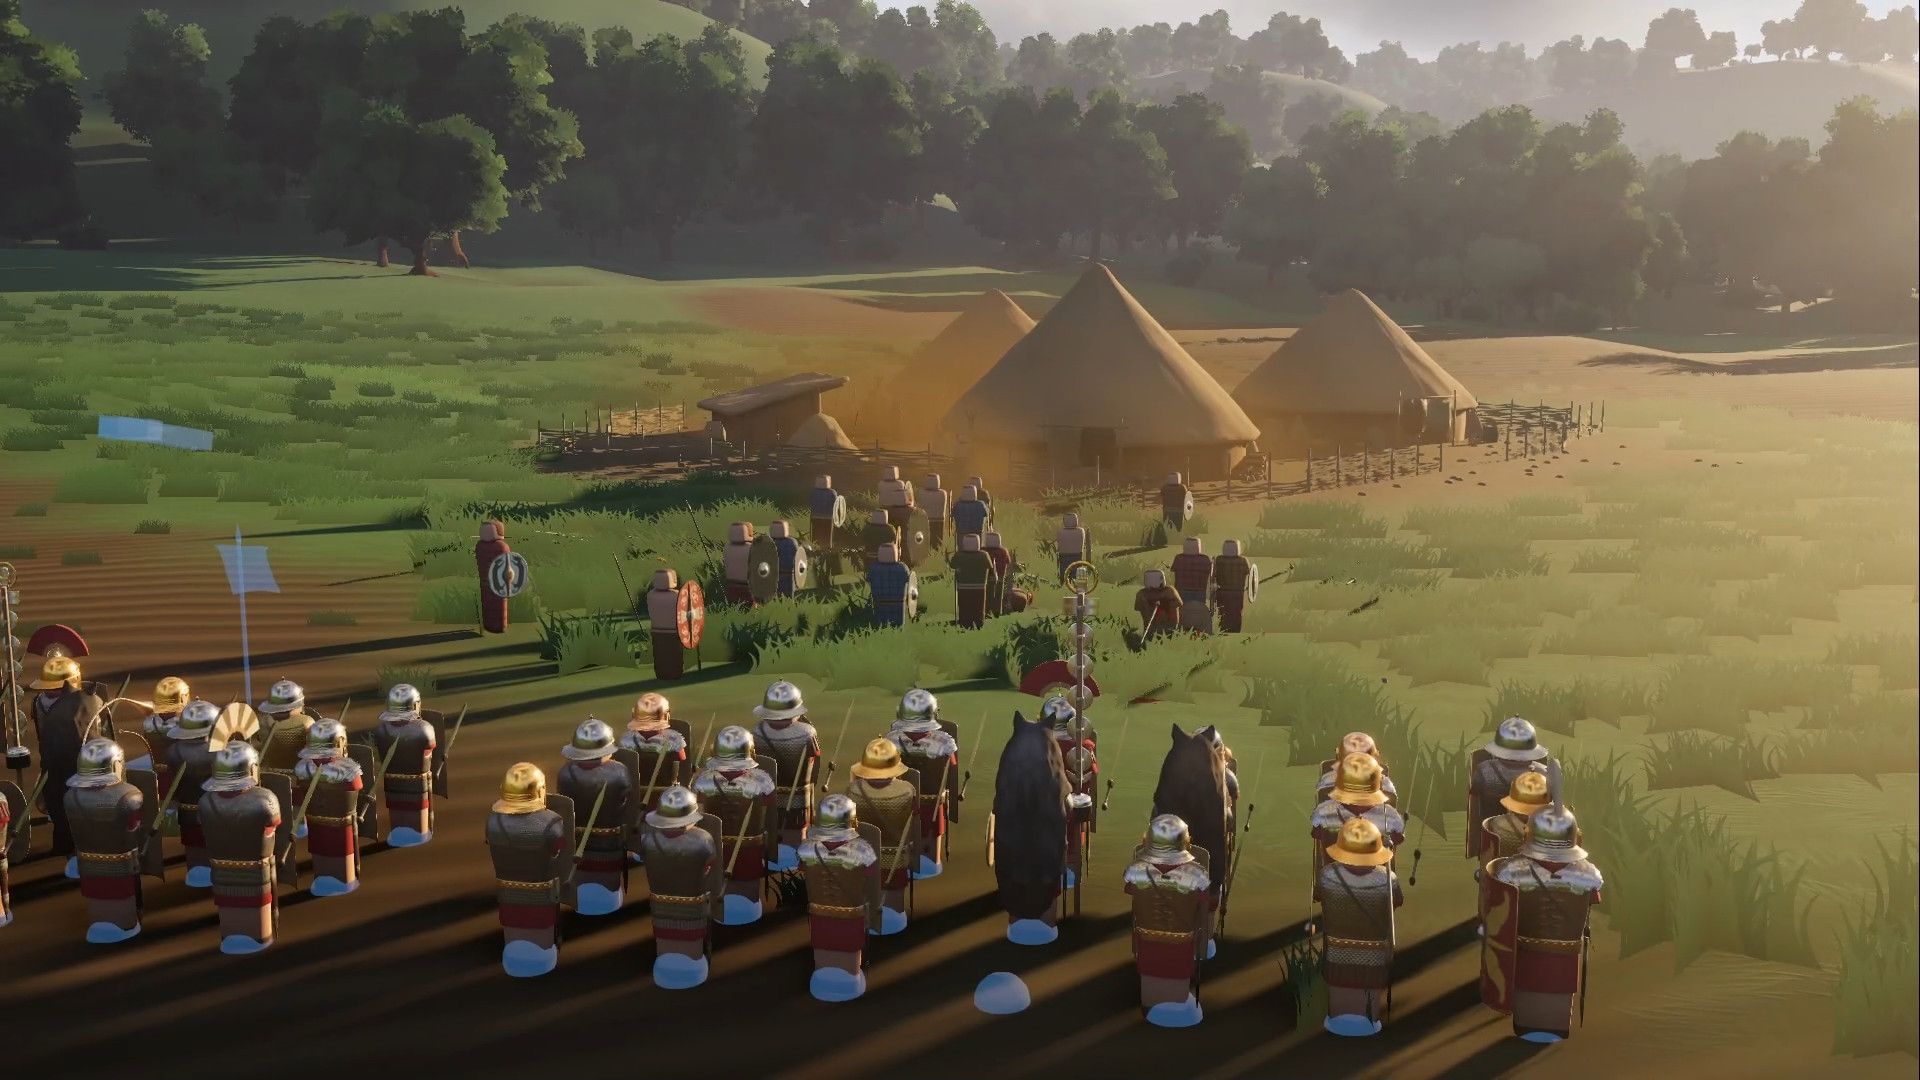
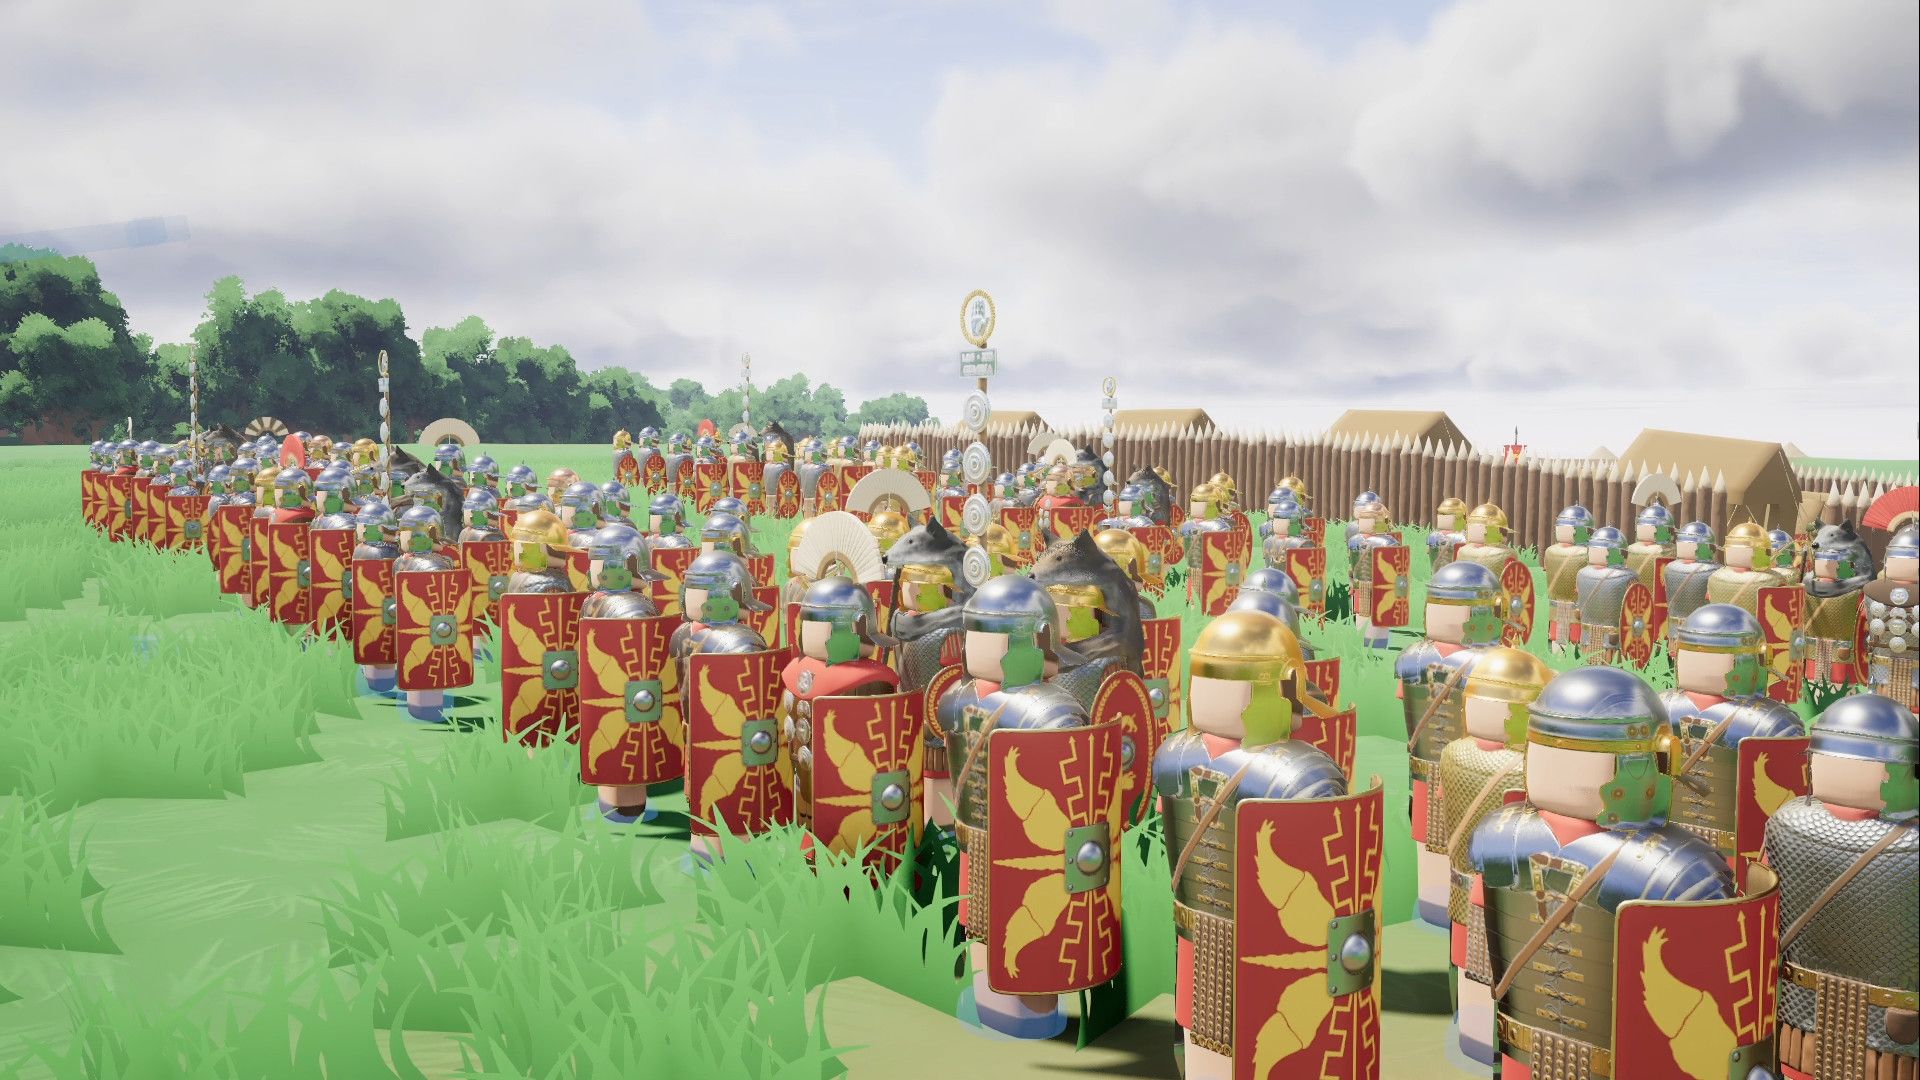
When you are heading into combat, the best way to start a fight is to simply hold the line. Your soldiers are well equipped, they are well trained, and if you tell them to hold, then they will be as unbreakable as the mountains themselves. Not only that, but they’ll also fight better.
If you set your troops to hold, then the moment the enemy gets into range, every soldier under your command will throw a Pillum. These are, in short, spears. These spears are an instant kill if they hit, regardless of shield or armor. This alone is reason enough to start in an organized formation as it will simply thin the enemy's number without you having to do anything.
Don’t Forget To Charge
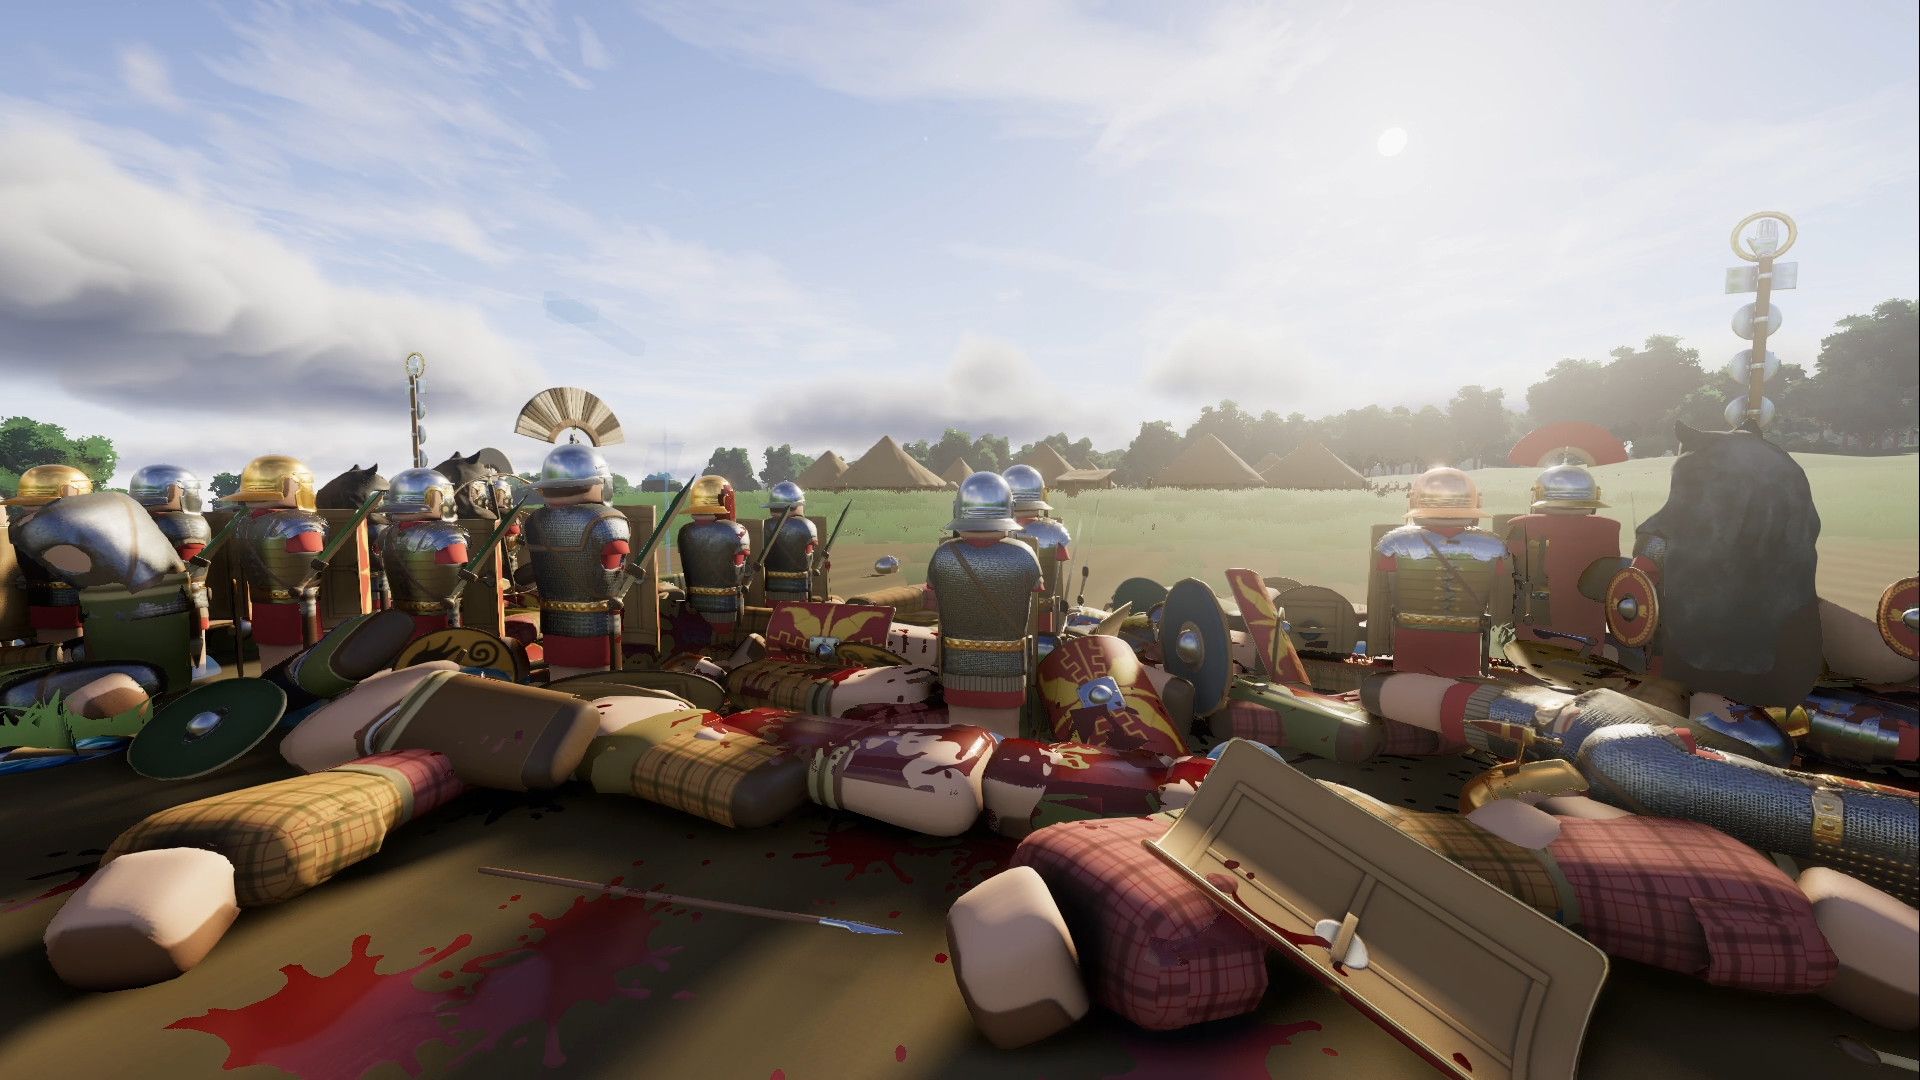
Holding the line is a vital part of playing well in Warlord: Britannia, but that doesn’t mean charging doesn’t have its benefits. Once the enemy has crashed into your shield wall, and their numbers are starting to dwindle, the best way to deal with them is to unleash a devastating countercharge.
This command will cause your formation to break rank, and engage the closest enemy. This is especially useful when taking out stragglers, or if you have multiple Centuries, as you can very easily surround the enemy and cut them down without resistance.
Attack From Behind
Warlord: Britannia is not a strategy game, despite having strategic elements mixed into its DNA. This is a first-person game, and your character, the Legate, is more than capable of getting stuck in. You are armed with a Gladius and a Shield, and the enemy is very killable with a bit of positioning and skill.
The best way to deal with the enemy is to act as a skirmisher. By which we mean you should move away from your line, and get behind the enemy. Whilst they are distracted by your men, you can start slashing at their backs and taking them out safely. This extra damage is substantial, and you can save the lives of many soldiers just by lending a hand.
The Power Of The Bow
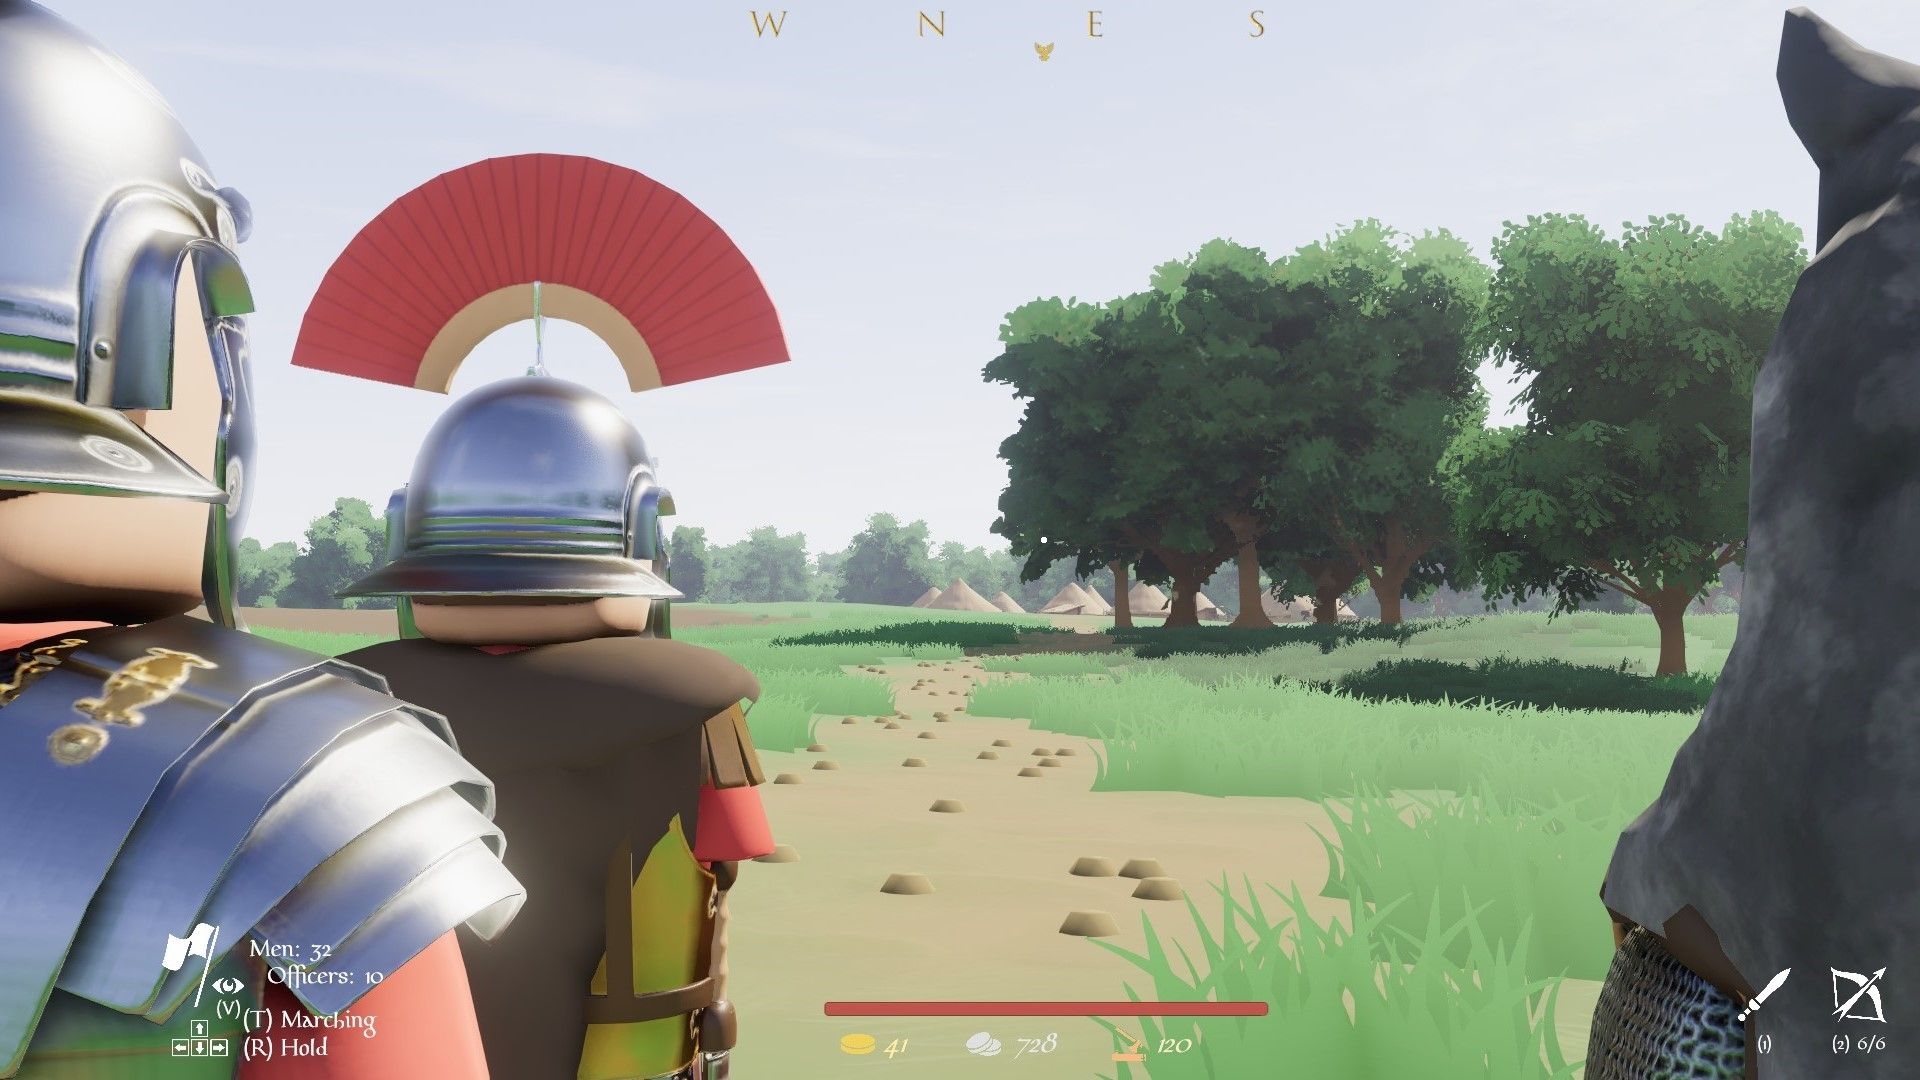
As a Legate, you are essentially a super-soldier. You have more health, attack faster, and deal more damage than your standard soldiers. You also have access to better equipment - heck, just more equipment in this case. The bow is one such piece of gear and is incredibly powerful.
Your bow only comes with six arrows, but each arrow is an instant kill if it hits a target. To make the most of this devastatingly powerful weapon, you want to wait until enemies are engaged with your troops, sneak around behind them, and shoot key targets in the back. By this, we mean you want to target armored enemies as these are very resistant to regular sword attacks. Just remember your arrows will be blocked by shields if you aim poorly.
Throw Your Pila
We mentioned that your soldiers have access to Pilum - instant death spears that ignore armor and shields. Well, you have access to two of them. These can be thrown at any time, and they are perfect for killing armored enemies - just like the bow.
What makes them even better is their ability to pierce shields. You can use your Pila to kill armored enemies as they advance - without having to sneak around back. You will eventually do this anyway, but it’s a great way to pick off key targets before your troops engage. Be sure to wait until after your soldiers throw, however, as you don’t want to waste a valuable Pilum on a corpse.
Putting It All Together
Putting all of this together, a standard encounter will have your men standing in formation, holding the line. As the enemy approaches, your troops will throw their Pilum. Once the last Pilum has been thrown, throw your own Pila, and target armored enemies.
Once your troops have been engaged, break rank, and get behind the enemy front line. Draw your bow, and assassinate key, armored targets. The moment you run out of ammo, switch to your Gladius and start attacking enemies from behind. Keep an eye on how the battle is going. If the enemy is starting to break, or if you have a clear advantage, then issue the charge to have your support Centuries come in and crush the enemy from the sides.

.jpg)
