Sargasso is the first planet you'll visit as Rivet in Ratchet & Clank: Rift Apart. Rivet takes Clank to her home planet to verify his tale of interdimensional travel, but before they leave, Clank is abducted by a Seekerpede. You'll need to rescue Clank before leaving Sargasso and heading off to Zurkie's in the Scarstu Debris Field.
There are four armor pieces, three golden bolts, and one spybot to collect on Sargasso. On your first trip to the planet you'll only be able to find three armor pieces and two gold bolts. While it's possible to find three of the four armor pieces, we recommend collecting the first two and saving the third for your return visit, since you'll need to come back anyway.
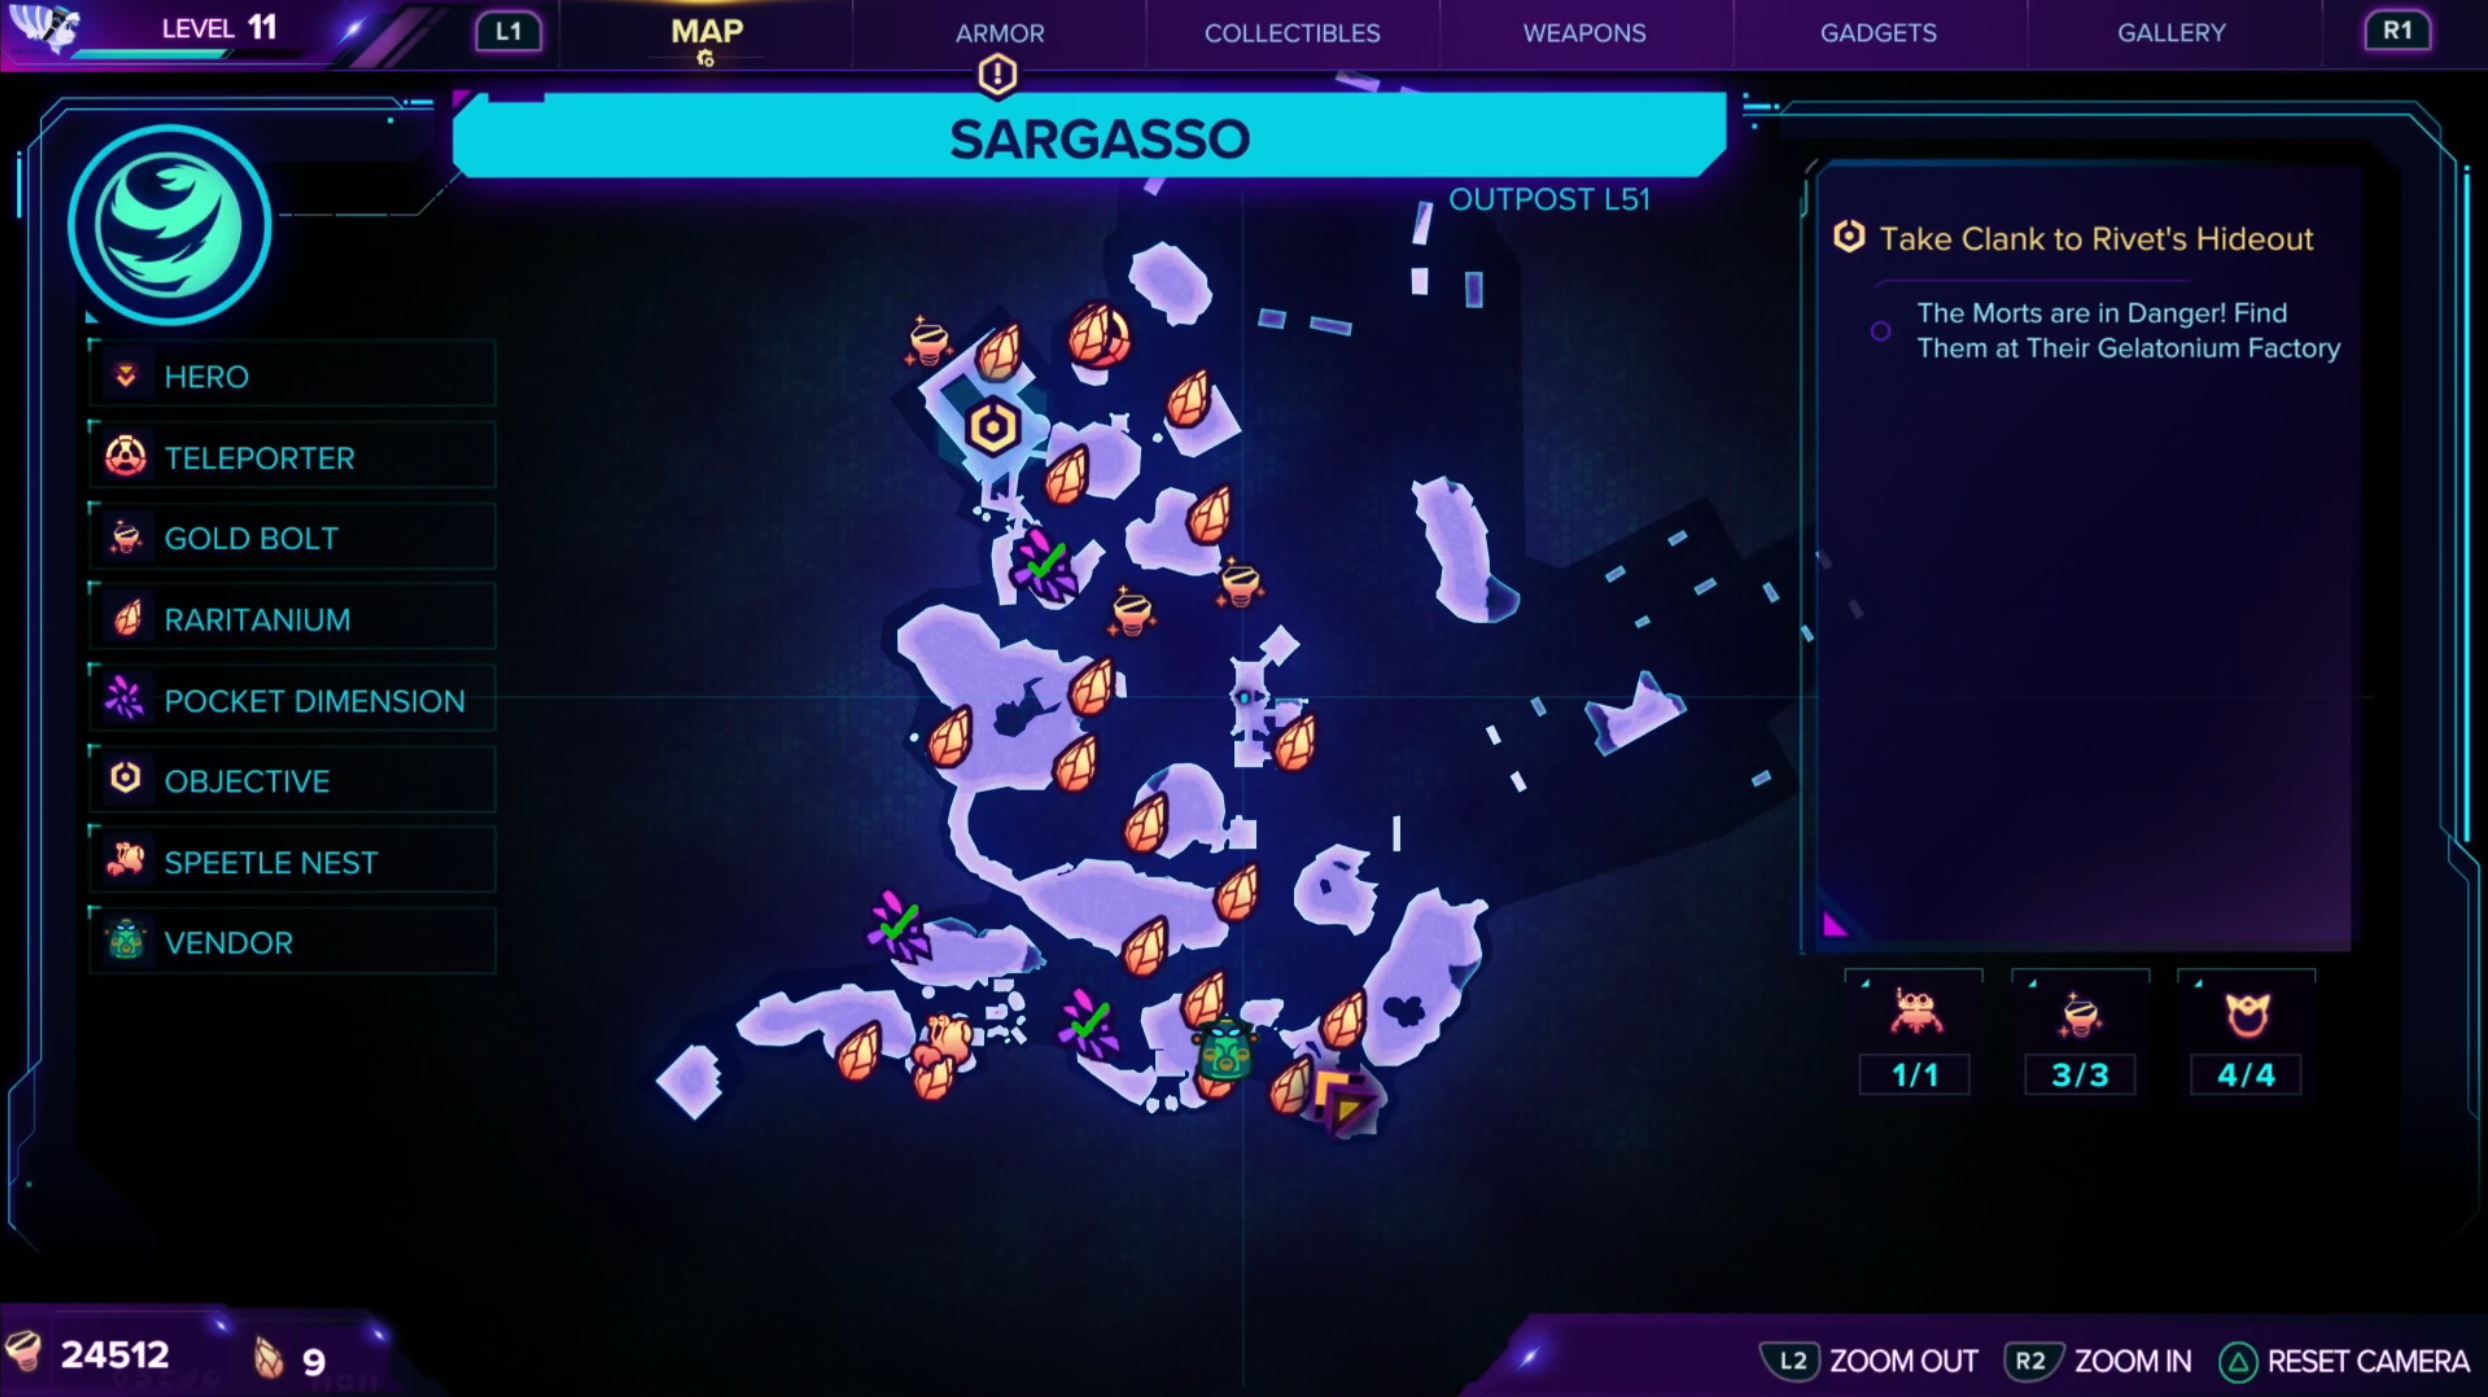
Before we begin, if you'd just like to see the full map so you can track down the loot on your own, here it is.
Landing On Sargasso - First Visit
From your ship, turn left and head to the edge of the island to find a Raritanium crystal. Next, turn around and head back to the right side of the ship. You'll notice a few stone platforms floating in the acid. Jump across them to find another Raritanium hidden behind a wall.
Related: Ratchet & Clank: Rift Apart: Complete Guide & Walkthrough
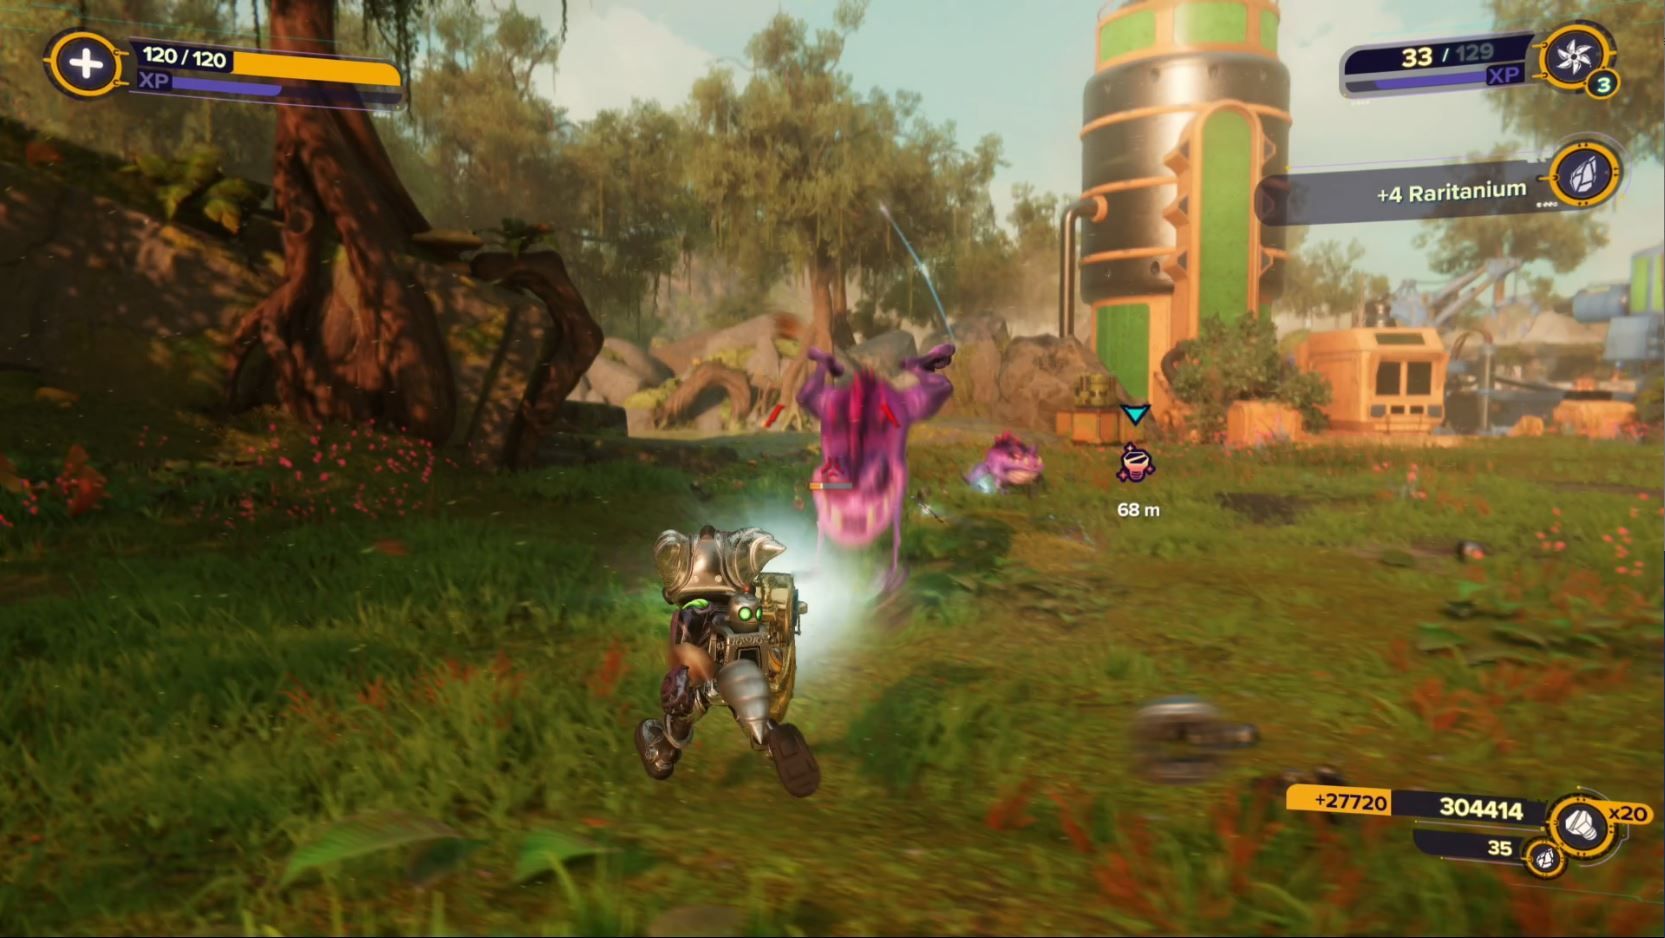
Jump back towards your ship and turn right. As you cross over the bubbling ooze in front of you a herd of Skeetles will run by as the Seekerpede flies overhead. Turn left and head towards Mrs. Zurkon. You'll find a Raitanium shard on the ledge just past the vendor. Then, run directly in the direction Mrs. Zurkon is looking. When you reach the acid, turn right and walk around the big rock to find another Raritanium on the other side.
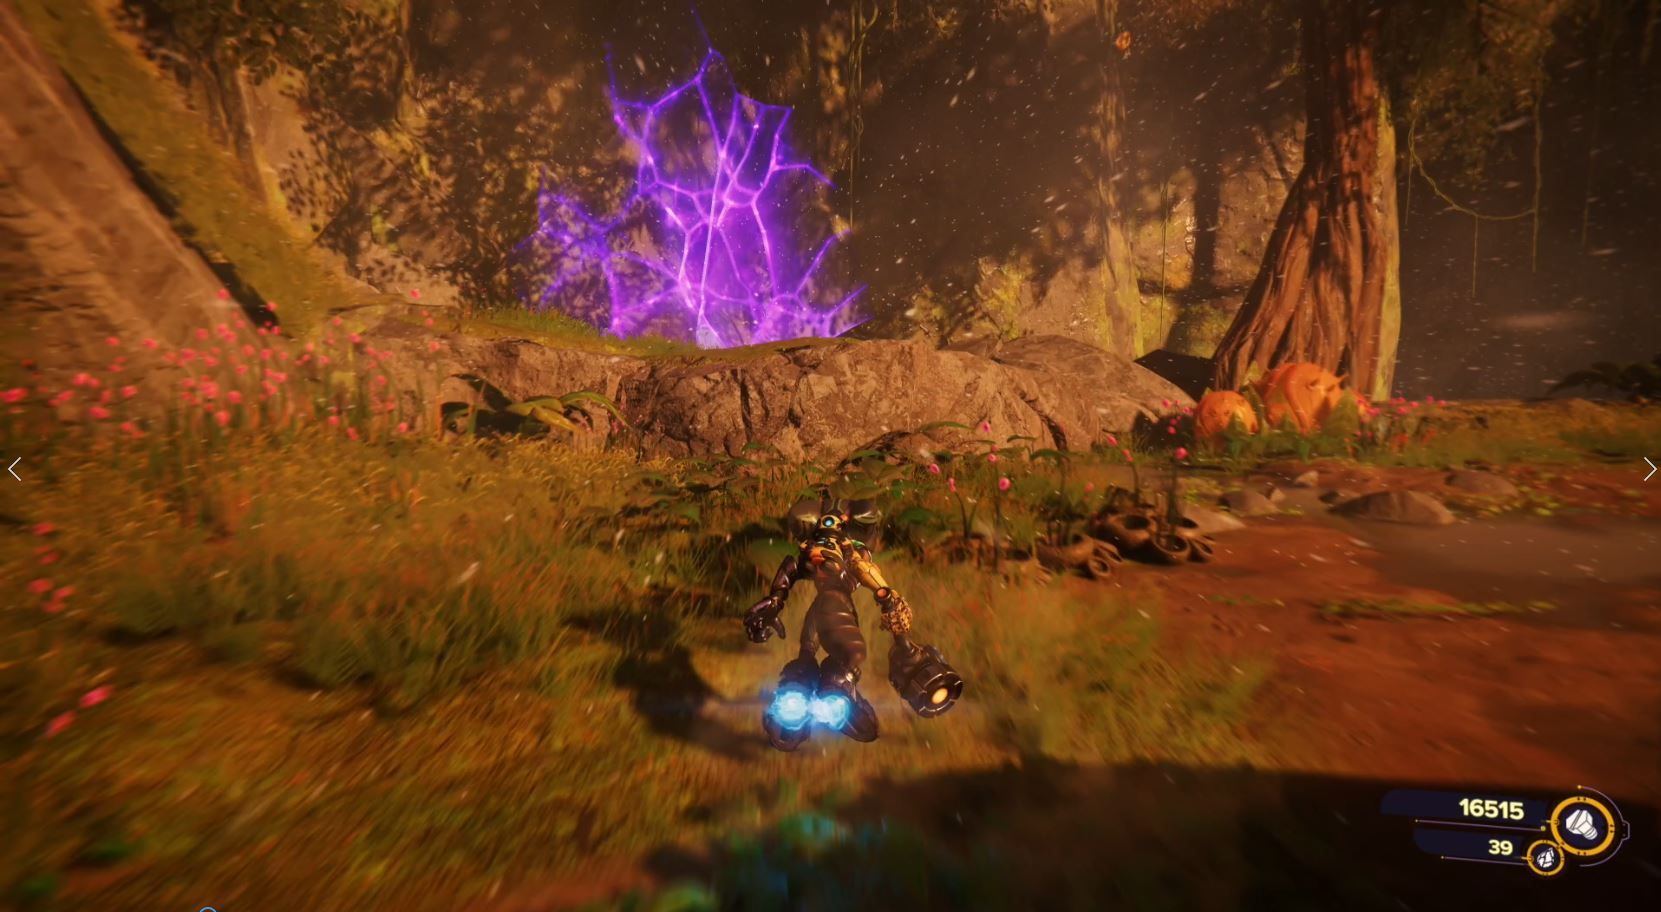
Head back to Mrs. Zurkon and follow the pass to the Skeetle. The bug will run ahead of you and disappear into a portal. Hold L1 to open the portal and follow the Skeetle inside.
Pocket Dimension: 65-31-99
You'll find a pile of three Raritanium on the right just as you enter the pocket dimension. Jump across the platforms straight ahead until you find the Skeetle. It will dive into the ground, so hit the nest with your wrench to make it pop back up, then press triangle to mount it.
Your critical path is just to the left, but you'll find the first armor piece just to the right. Drive the Skeetle into the platform with the crane to collect the armor. Hit the nest to spawn another Skeetle and ride it towards the ramp on your right.
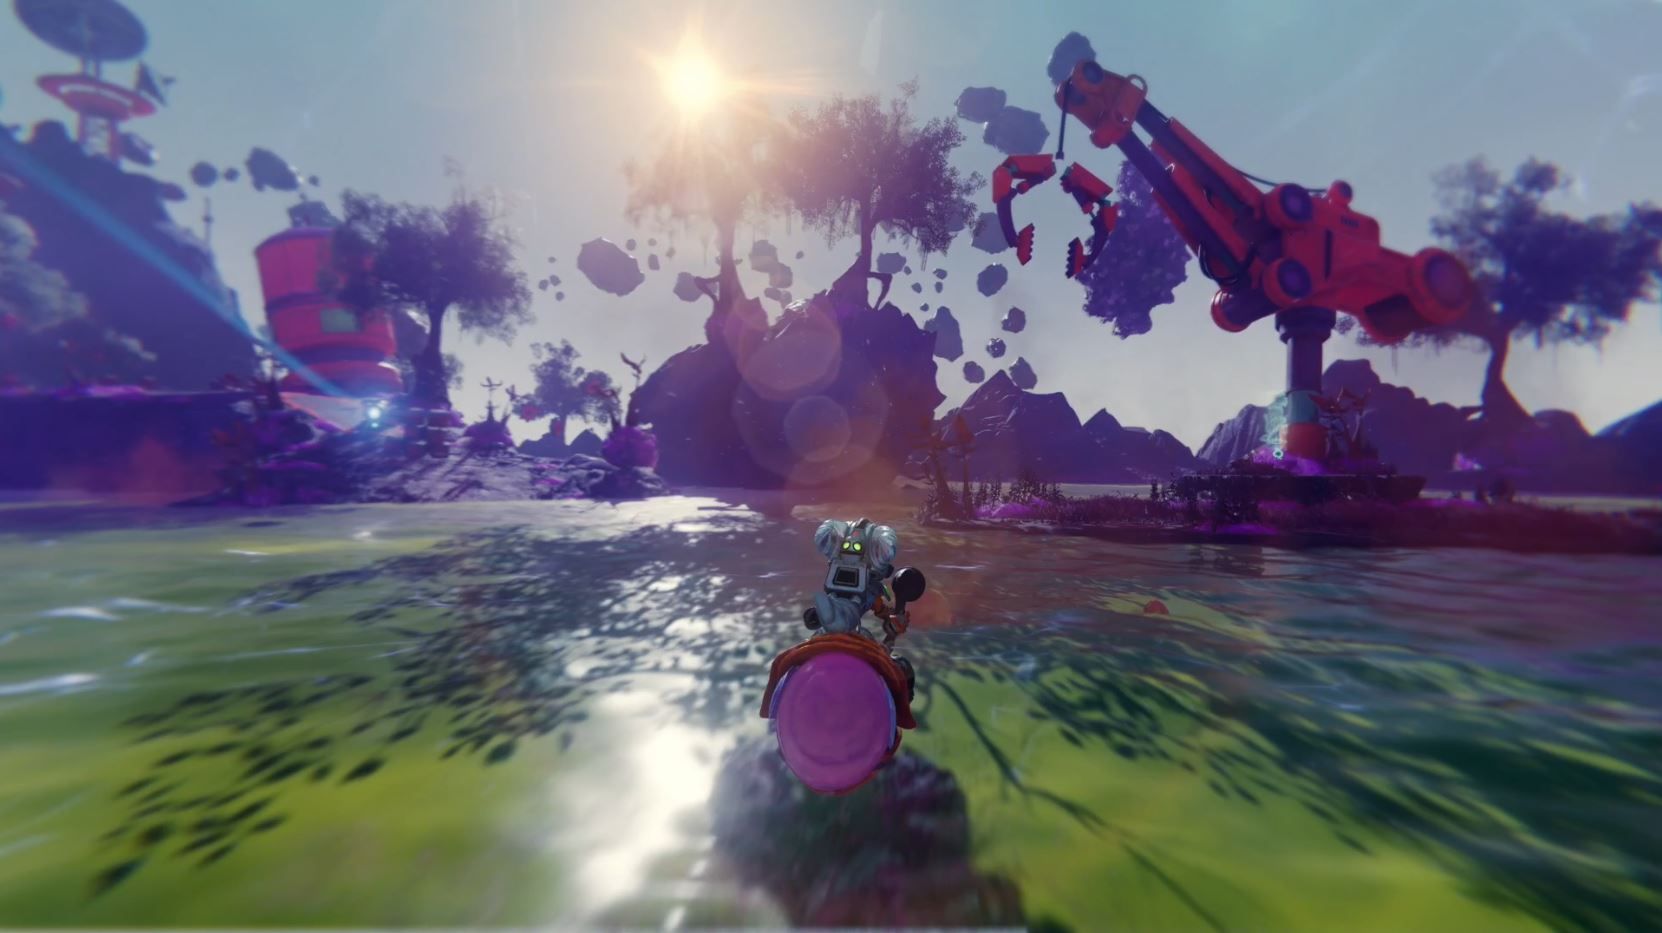
While riding the Skeetle, follow along the path. Make sure you press R1 to speed up just before you hit a ramp to make sure you get another lift to jump to the other side. Eventually, you'll exit the pocket dimension and return to Sargasso.
Back In Sargasso
If you want to just get this armor piece on your second visit as we recommended, just ride the Skeetle through the tunnel and continue on your path. Drive under the dinosaur-like creature and continue following the drone until you find the goons threatening the Morts. Walk up the ramp and kill all of the enemies that spawn until a cutscene plays.
Depending on what patch you're playing on, it's possible to kill all of the goons without the cutscene triggering. If you find yourself standing around without anyone to fight, just pause the game and choose Restart Last Checkpoint. This will put you to the beginning of the fight.
When the cutscene ends, walk straight forward and interact with the anomaly to activate it. This will take Clank inside for your first anomaly puzzle.
Clank Anomaly Puzzle On Sargasso
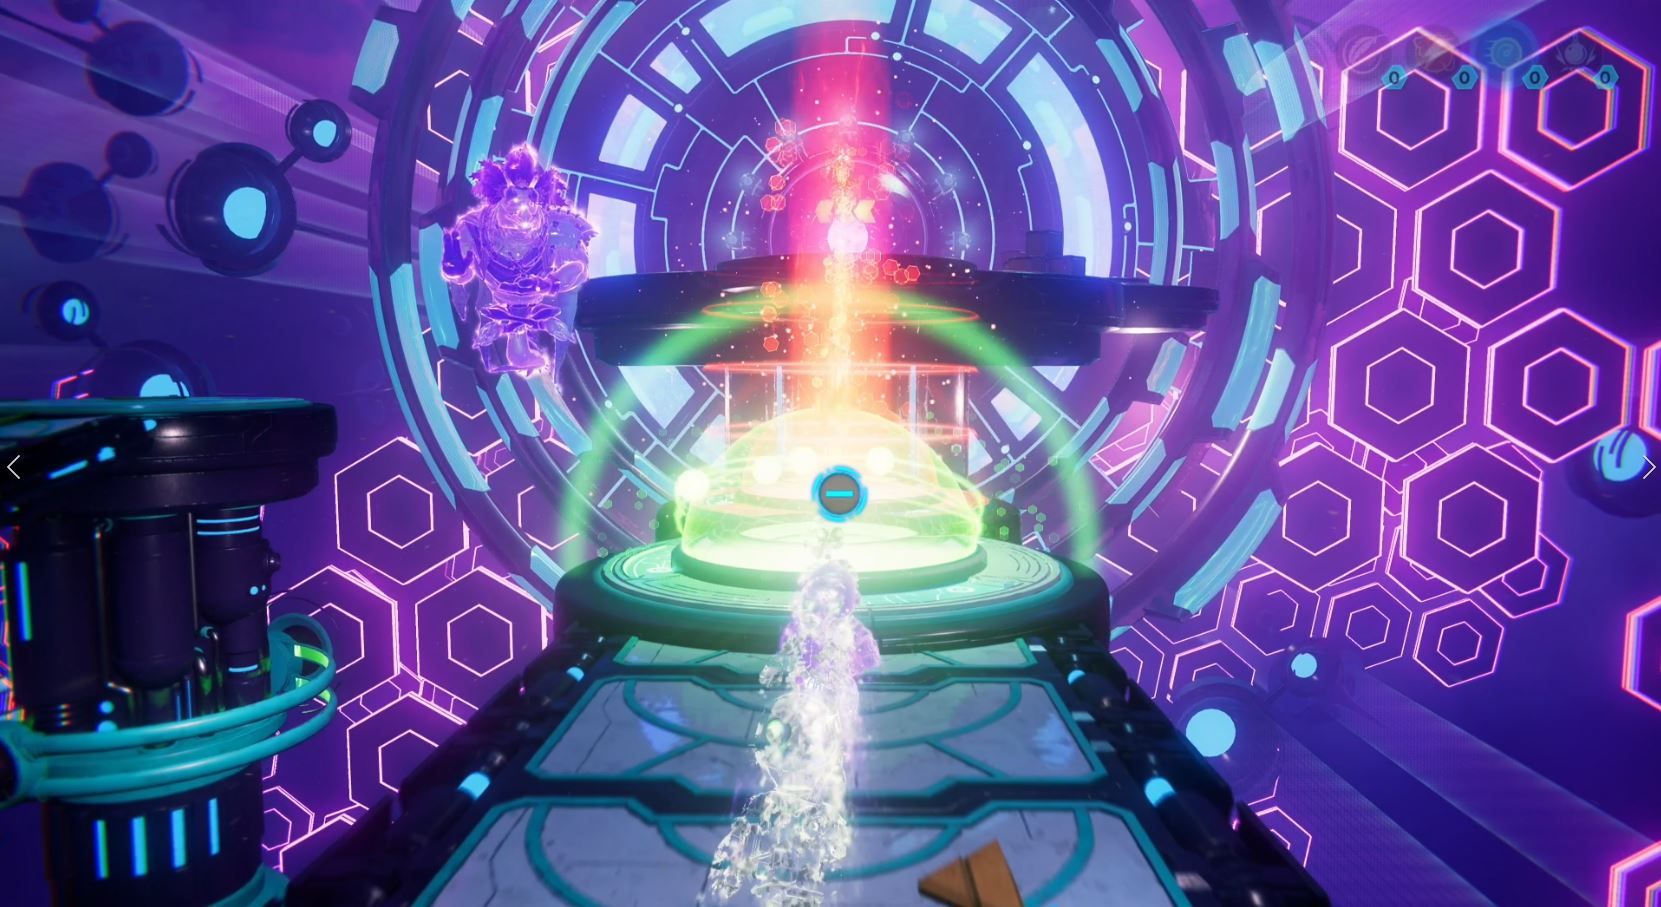
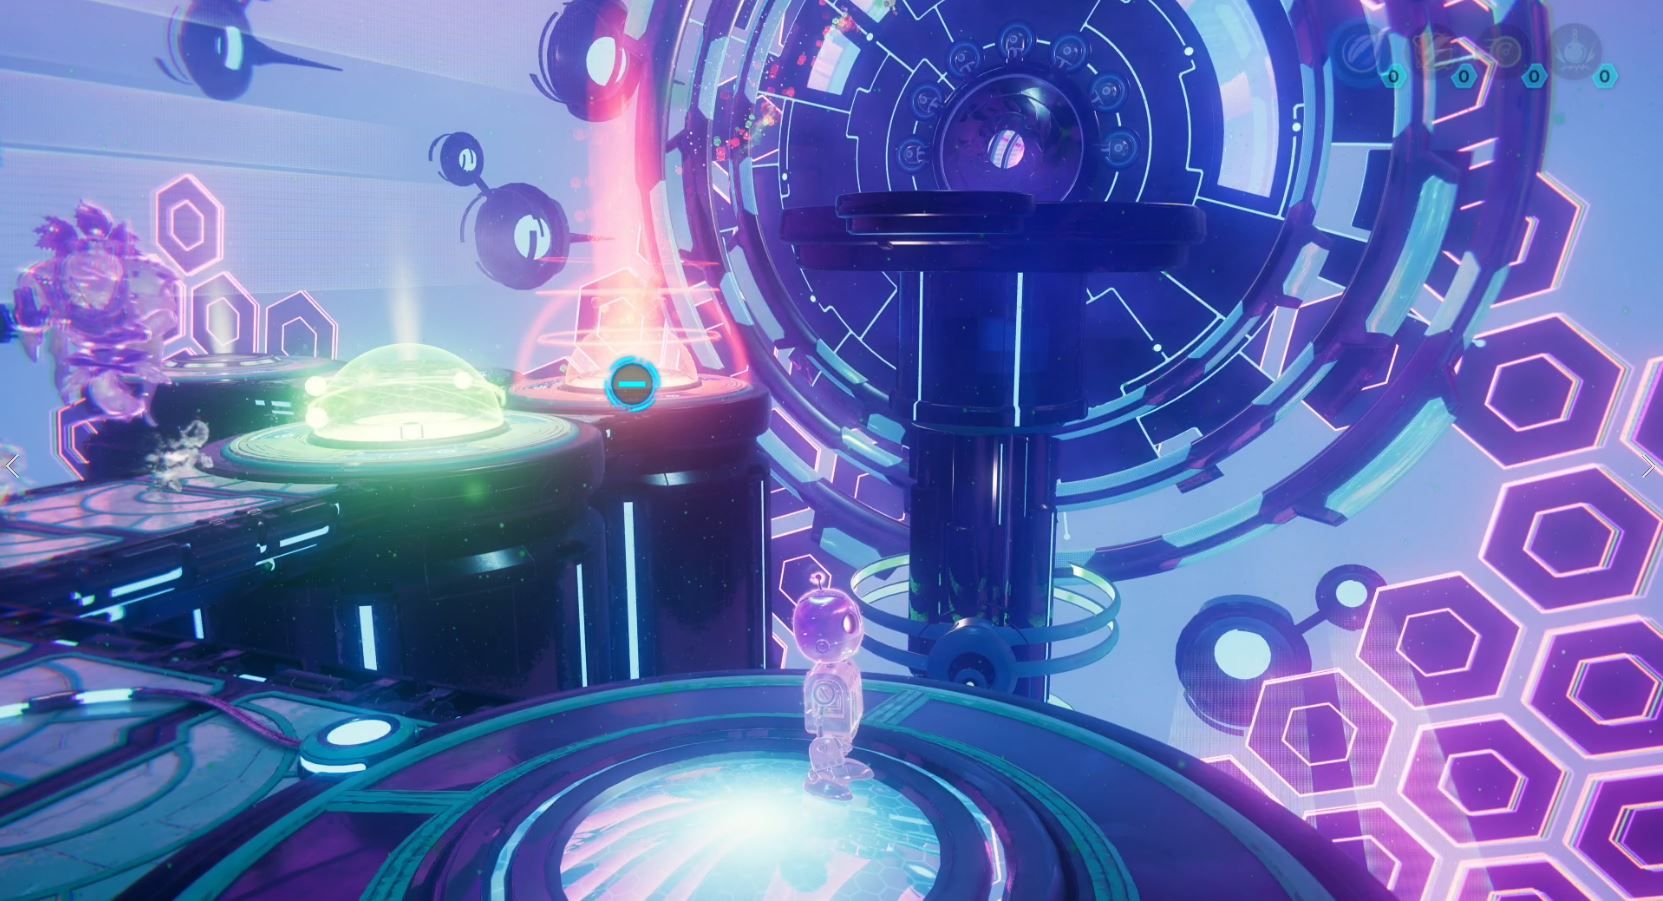
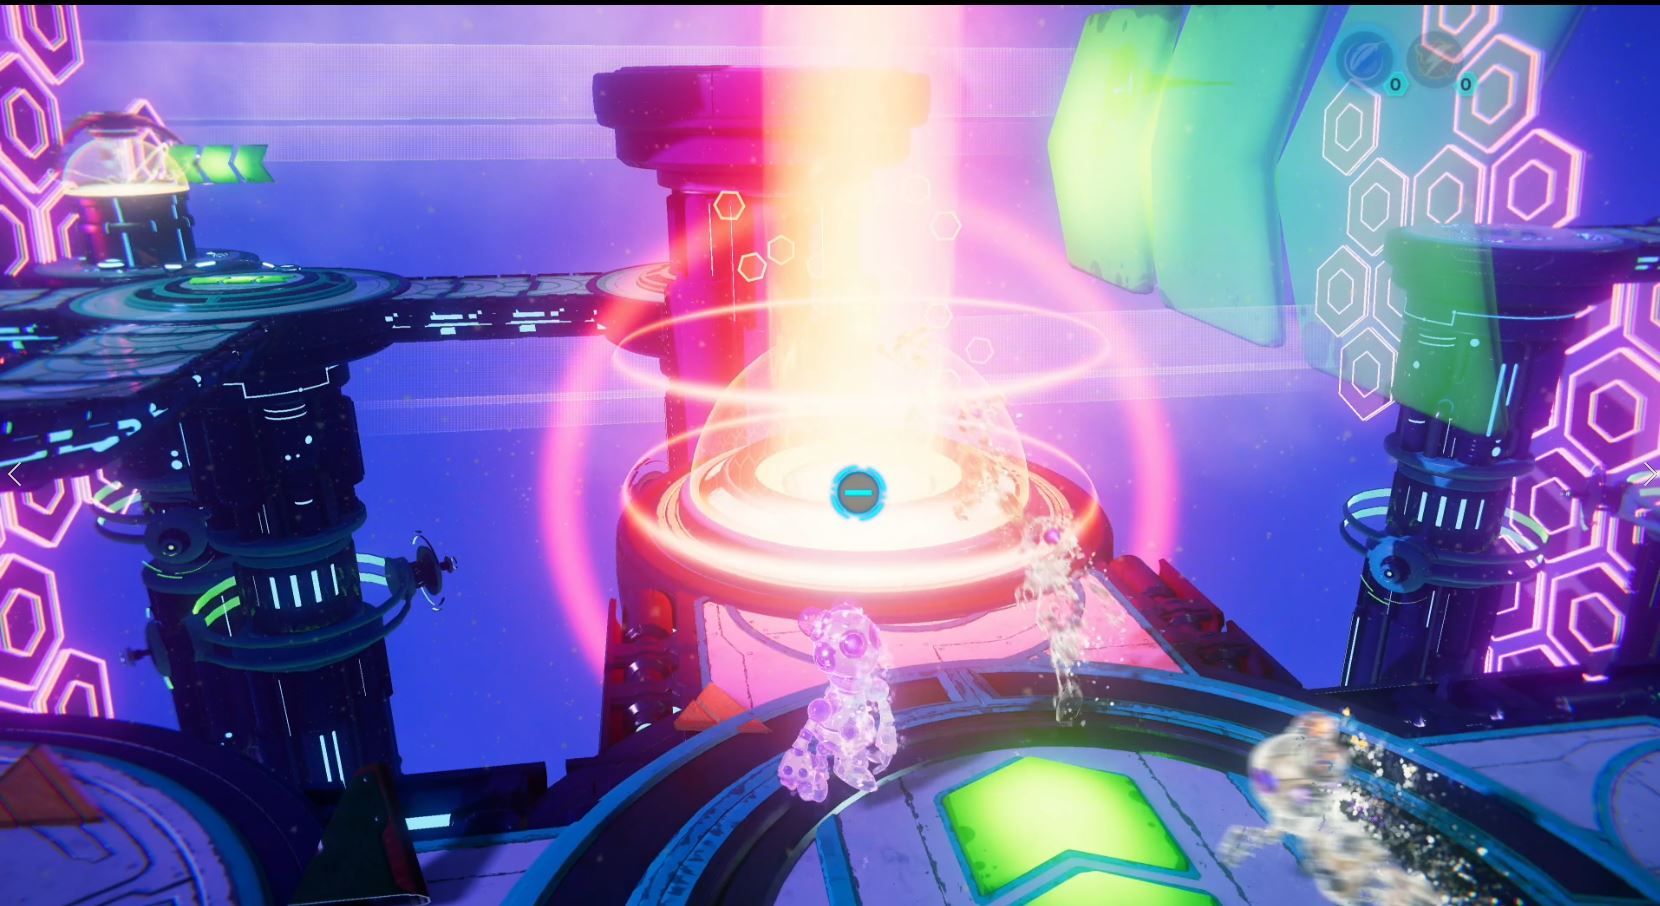
There are three puzzles to solve in this Anomaly. All three should be fairly straightforward since this is the first puzzle you'll solve. Start by running to the right platform to pick up the red orb. Press R2 while aiming at the port on the floor to throw the red orb in it. Run into the red dome to fling yourself onto to exit platform and move to the next puzzle.
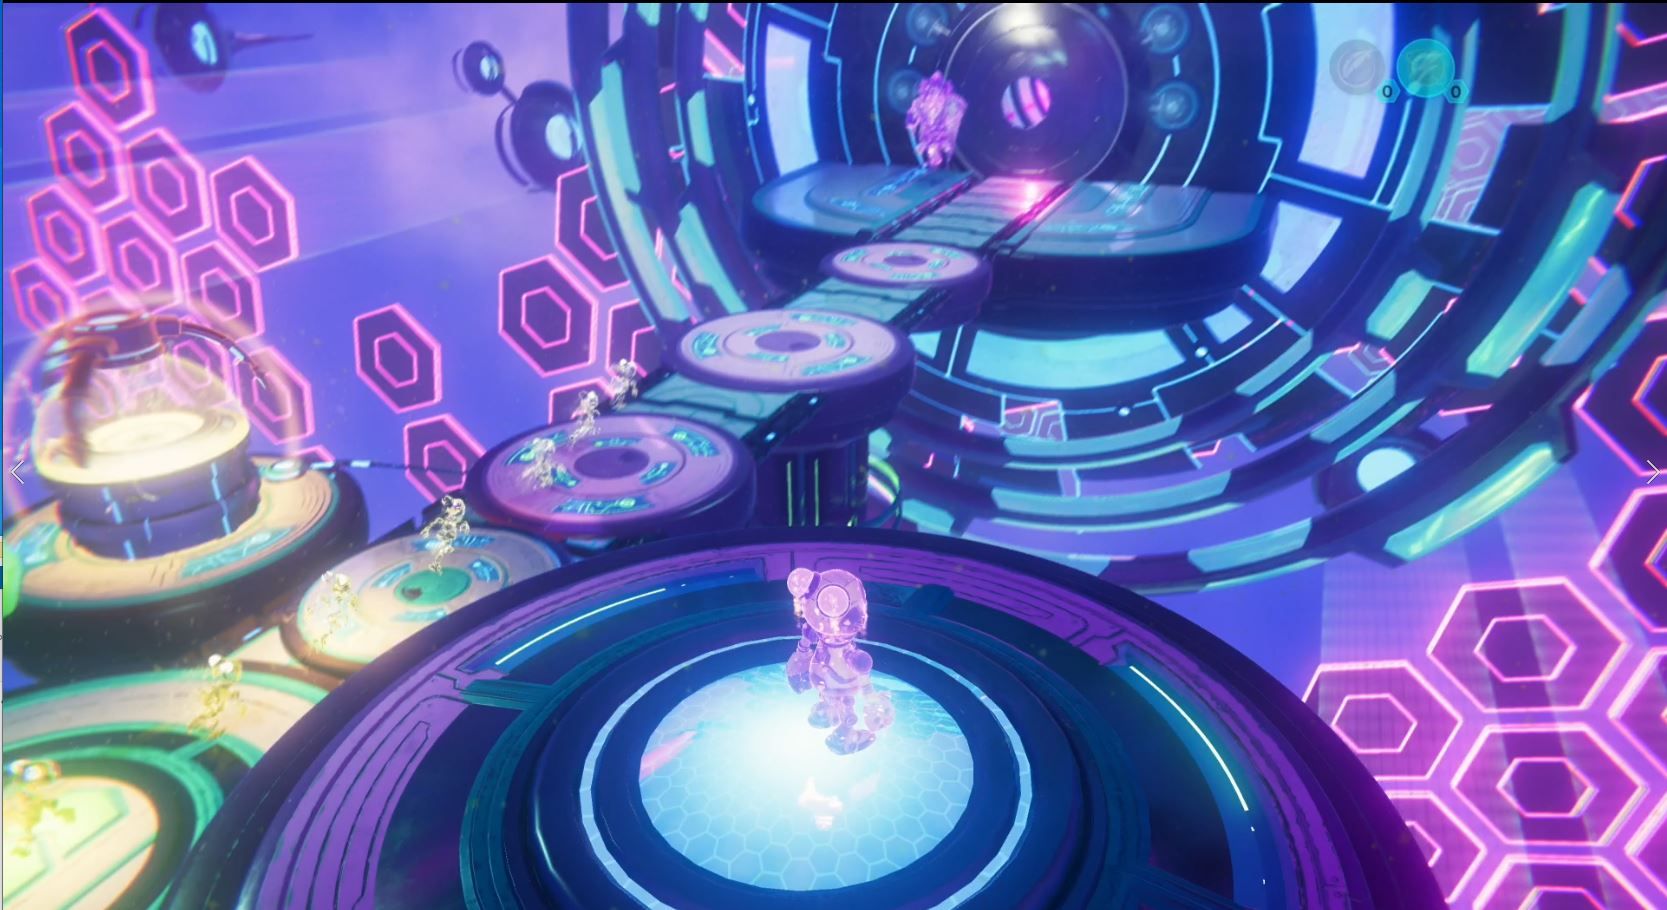
In the next chamber, break the boxes on the left platform and grab the green orb. Drop the orb into the port in front of the wall of polyhedrals on the right platform. Run through the wall to collect the red orb. Next, throw the red orb into the forward-most port on the center path. Throw the green orb into the second port and run through both domes. This will launch you onto the exit platform. Stand on the green button on the right to direct the potential Clanks into the exit.
In the next chamber, pick up the red orb and throw it at the smasher. Run under, grab the red orb out, and throw it into the smasher on the left. Run through it and grab the green orb. Run back through, then take the path on the left and follow it along to another wall of polyhedrals. Toss the green orb into the port closet to the wall and run through it to break it. Then, retrieve the red orb from the smasher behind you and throw it into the port in front of the green dome. Run through it and launch yourself forward to grab another green orb. Return to the center platform and retrieve both orbs so that you have two red and one green orb. Throw a red into the first smasher, a red into the port closest to the exit, and a green orb into the port right behind the red. Stand on the bottom to rotate the platform and watch Clank's possibilities launch themselves into the exit to finish the puzzle.
Heading To Rivet's Hideout
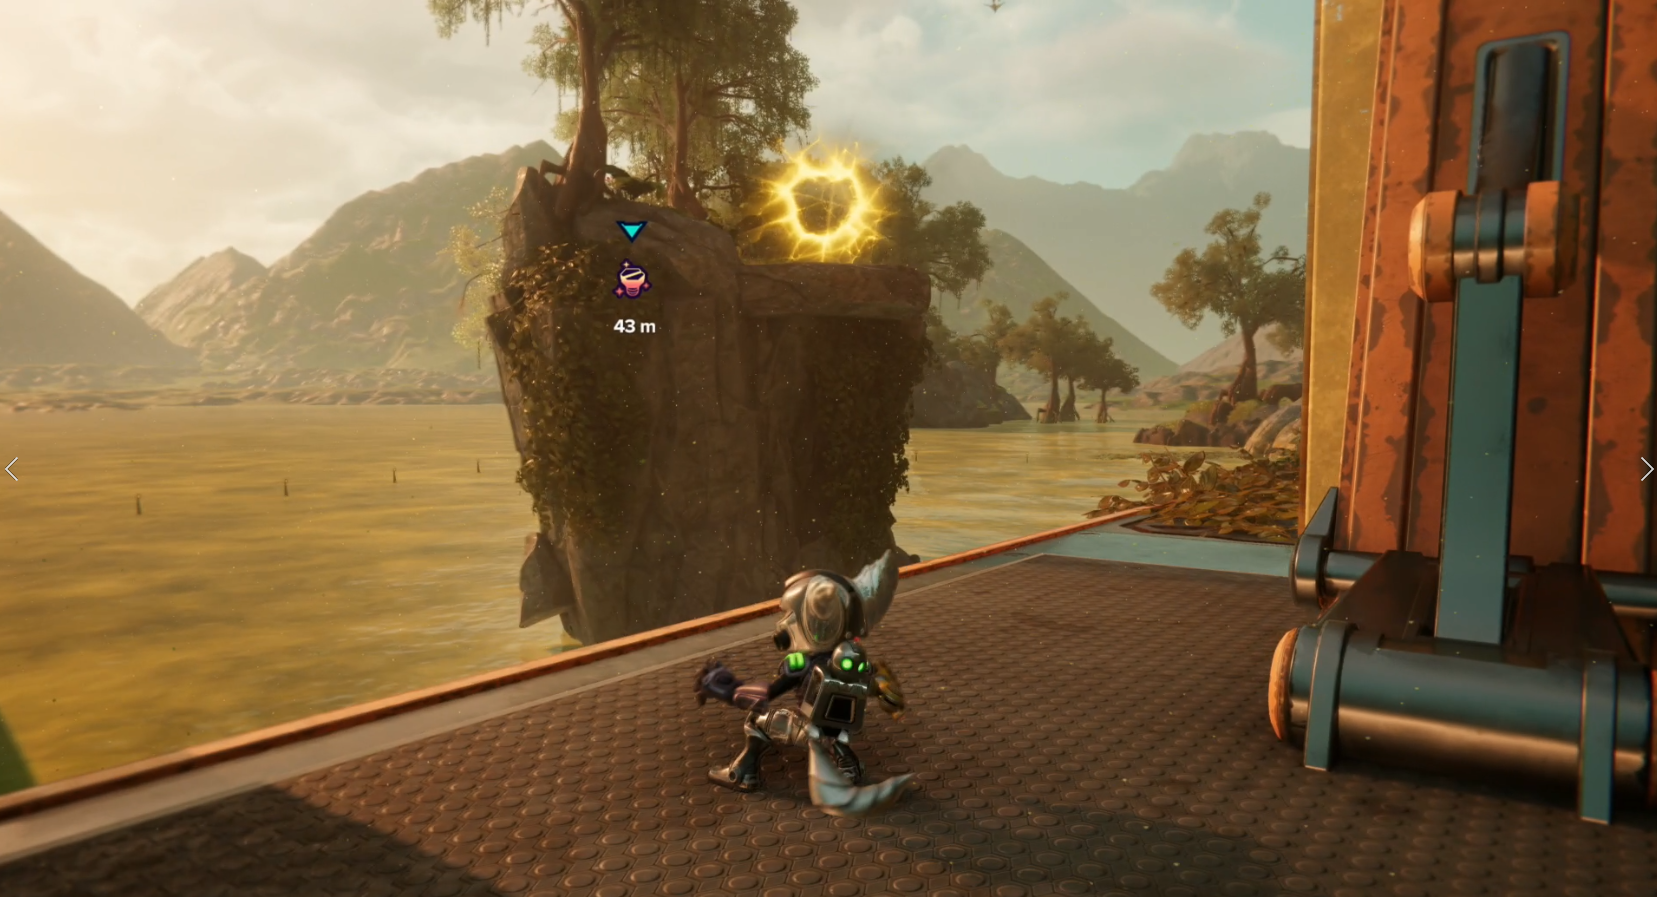
When the cutscene ends, walk around the left side of the factory. When you get behind it you'll see a rift on a tall island. Pull yourself to it to find the first golden bolt. Your next task is to lower the bridge so you can access Rivet's Hideout. While facing your ship, run down the path to the right and kill the Grunthor that's fighting the goons. Once it's dead, step on the three buttons on the left to activate the elevator unto the raised platform in the acid. Ride it up, then turn left. You'll see a rift you can pull to on the structure straight ahead. As soon as you get here you'll have to fight several waves of goons.
Once you've cleared this platform of enemies, walk up the stairs and swing back to the side that faces the bridge (where you just fought the Grunthor). You'll see a switch you can activate with your hammer. Press square and hold right on your stick to activate it and lower the bridge.
Pull yourself back through the rift on the right to return to the bridge. You'll find a Skeetle waiting for you. Mount the Skeetle and hold R1 to launch yourself across the broken bridge. As soon as you land you'll have to fight another Grunthor. When it's dead, head towards the big mechanical vat of acid that's straight ahead of the bridge. You'll find the second golden bolt hidden behind it. Turn around and head back towards the bridge. On the left you'll find a Skeetle facing three green buttons. Ride it over the buttons to make a swing point raise out of the swamp. Swing across and go through the door into Rivet's Hideout.
Pocket Dimension 729-2110-01
Once inside, walk straight ahead to find the second pocket dimension. This is a fairly straightforward platforming challenge. All you need to do is run and jump on the path. Eventually, your platforms will become TNT boxes. Make sure you keep moving and don't stay on these platforms for too long. You'll find your second armor piece at the end of the path.
The Seekerpede Boss Fight
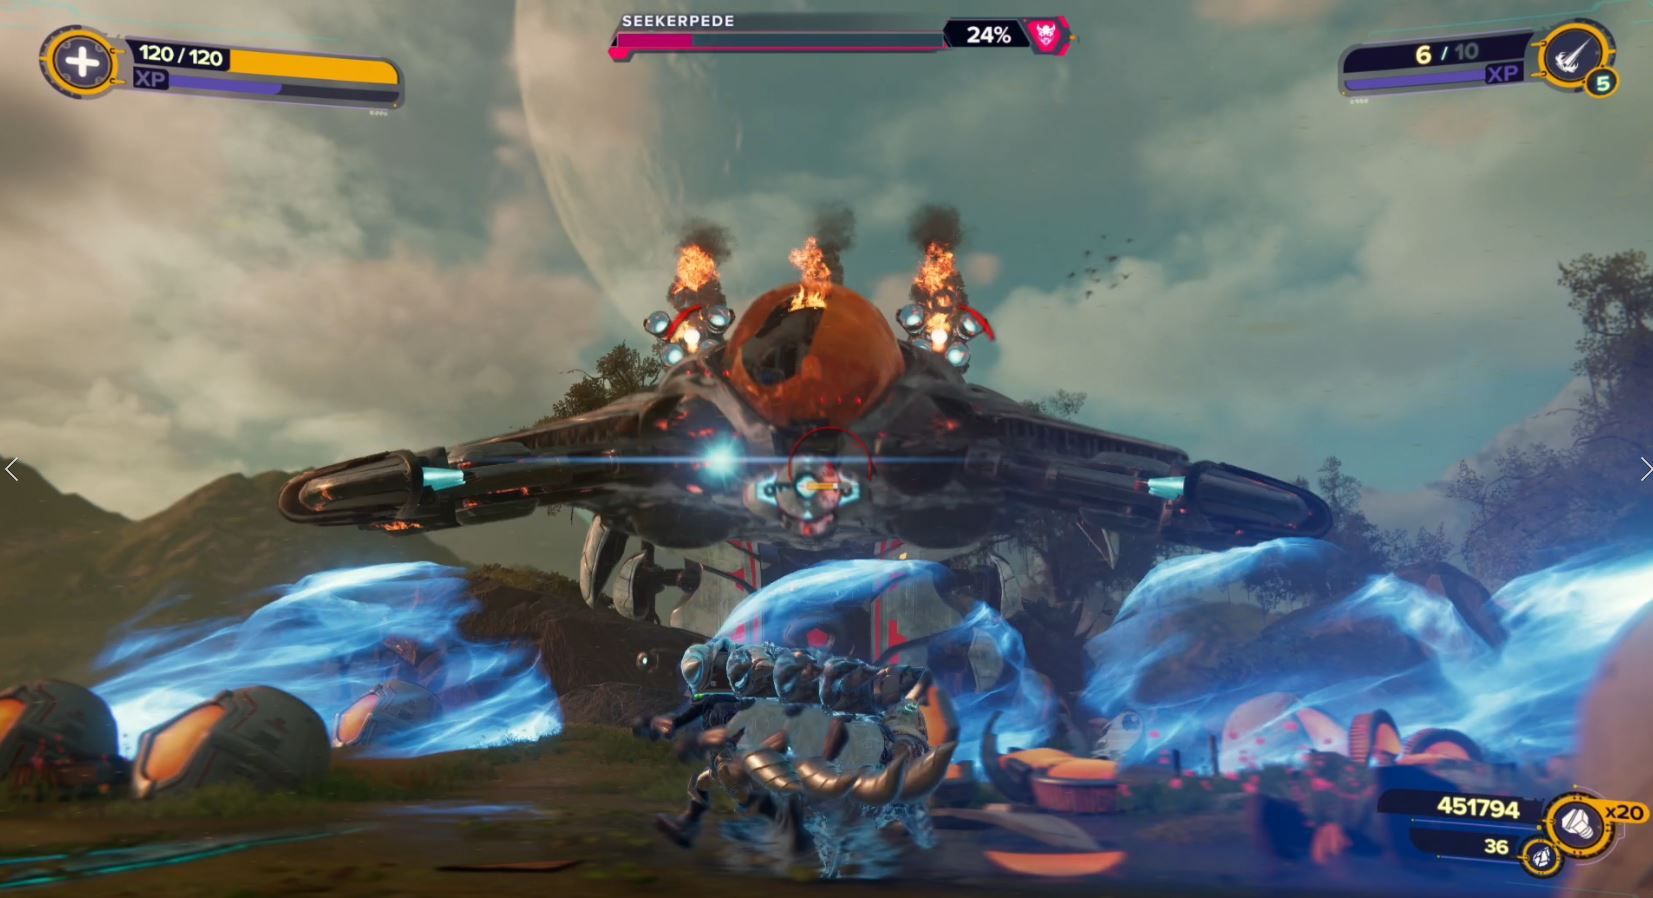
Leave the pocket dimension and take a left. Double back and walk up the path to enter Rivet's Hideout. When the cutscene ends, you'll begin a boss fight with the Seekerpede. Ride the Skeetle forward following the Skeekerpede and taking care to avoid the bombs that drop. Eventually, it will make a sharp left and you'll start to see ramps ahead of you. Press R1 to boost up the ramp and launch yourself onto the Seekerpede. Land on it and drive straight forward to hit it, this will start the first damage phase of the boss fight.
The Seekerpede has two attacks you need to avoid: a laser that comes out of its front cannon and a sweep attack it will do from the left or right with its mandibles. When you see either the canon or mandible light up, just get ready to dodge out of the way. Damage the Seekerpede until 50% to start the next phase.
This time you'll need to hit two ramps in a row to land on the Seekerpede. Boost up the first ramp you see and continue boosting, making sure you land on the second ramp. Launch onto the Seekerpede and hit the front of it again to start the second and final damage phase.
The Seekerpede will add two more attacks into its rotation this time. Occasionally it will reveal launchers behind the cockpit and unleash a battery of missiles at Rivet. You can see the targets on the ground, so just move out of the way to avoid damage. When the Skeekerpede flies overhead, you'll need to dodge out of the way so that you don't get hit by its tail. Keep hitting it with everything you've got until it dies. At this point, you should have two armor pieces and two gold bolts. You'll return to Sargasso to finish up later in the game.
Sargasso Return Visit
When you land on Sargasso on your second visit, fight your way straight forward and kill all of the Nefarious forces that spawn on the platform. As soon as their cleared a cutscene will play and the Morts will explain that a Seekerpede is caught in an anomaly ahead. Two platforms will raise out of the swamp, so run across them. On the other side, walk down the ramp on the right and keep going straight ahead into a large open area filled with falling debris. You'll need to find a whole bunch of Nefarious forces here before moving on. Follow the path forward as it jogs to the left. When you reach a gap, grab the rift on the other side and pull yourself forward. Here you'll have to fight a Grunthor as well as some Nefarious bots. Before moving forward, head into the pocket dimension on the right.
Pocket Dimension 731-71-86
This pocket dimension is a bit trickier than the previous ones found on Sargasso. You'll need to make platforms for yourself to jump across by breaking crates. Unfortunately, if you break too many of them you'll need to restart the challenge by falling to your death. Rather than use a gun, it's best to just throw Rivet's hammer at the boxes. To reach the first set of boxes, you'll need to break at least two layers of boxes. The same goes for the next set on the right, but you only need to break one layer to reach the next set on the left. Use the Lightning Strike to kill the goon on the platform ahead of you without creating collateral box breakage. Carefully jump on the next platform, then break through two layers of boxes in the wall ahead of you. Jump over the wall and grab the third piece of armor. Pull yourself through the right on the right and leave the pocket dimension.
Back on Sargasso, head to the right and pull yourself through the rift onto the next island. Turn right and fight your way all the way to the anomaly. You'll need to fight a Nefarious Juggernaut as soon as you get there.
Kit Anomaly Puzzle On Sargsso
Head straight forward and grab the yellow orb. Toss the yellow orb into the port and run through it to send yourself through down the wire. On the other side, break the boxes and head forward to grab another yellow orb. Turn right and walk to the end of the path, break the boxes, and throw the yellow orb in the spinner port to rotate the platform in front of it. Grab the red orb from the path on the right and toss it into the port right in front of the button where you picked up the second yellow orb so that the potential Kits fly over the button, causing the platform your own to raise. Retrieve the red orb and toss it into the port closest to the raised platform your own so that the potential Kits jump and land where you are. Watch them run to the exit to open the door. Press circle to teleport to the exit and move to the next challenge.
In the next chamber, punch the boxes and grab the yellow orb. Throw it in the port straight ahead and zip across to the other side. Retrieve the yellow and throw it into the port on the left to zip to the next platform and grab the second yellow orb. Drop it into the port in front of you and zip back across to the middle, then retrieve the orb. Place the second orb into the very first port and leave the first yellow orb where it is so that your potentials will zip across both wires and run over the green button on the other side. This will lower the pillar so that you can stand on the button on top of it. Stay on the button and retrieve the yellow orb from the port straight ahead. Toss it into the spinner to rotate the bridge and watch your potentials run to the exit. Now you can move onto the third and final challenge.
In the next room, run straight ahead and grab the yellow orb. it in the port at the end of the path and zip to the other side. Follow the path on your right to grab a blue orb. Head back toward the zip line, grab the yellow orb, plant it in front of you to zip back across, then retrieve the yellow orb again. Head back to the entrance and drop the yellow orb in the port on your left to zip across to the highest platform. Break the crates and grab the red orb here before jumping back down and retrieving the yellow orb. Drop the blue orb into the first port so your potentials can run through the fan, then drop the red orb into the port in front of the button so that your potentials jump over it and run across the bridge. Finally, drop the yellow orb back into the port in front of the wire and zip across to finish this anomaly puzzle.
Take Down The Nefarious Ships On Sargasso
Once you've left the anomaly, walk forward and use the swingpoint to swing across the gap unto the small platform to the southwest. Slide on the rail, jump on the wall running section as your make your way up. At the top of the platform, grab the swingpoint and launch yourself up onto the ship.
Fight all of the Nefarious Forces on the ship, then activate the switch in the center of the ship by pressing squaring and holding right on the stick. Run over to Trudi and mount her by pressing triangle.
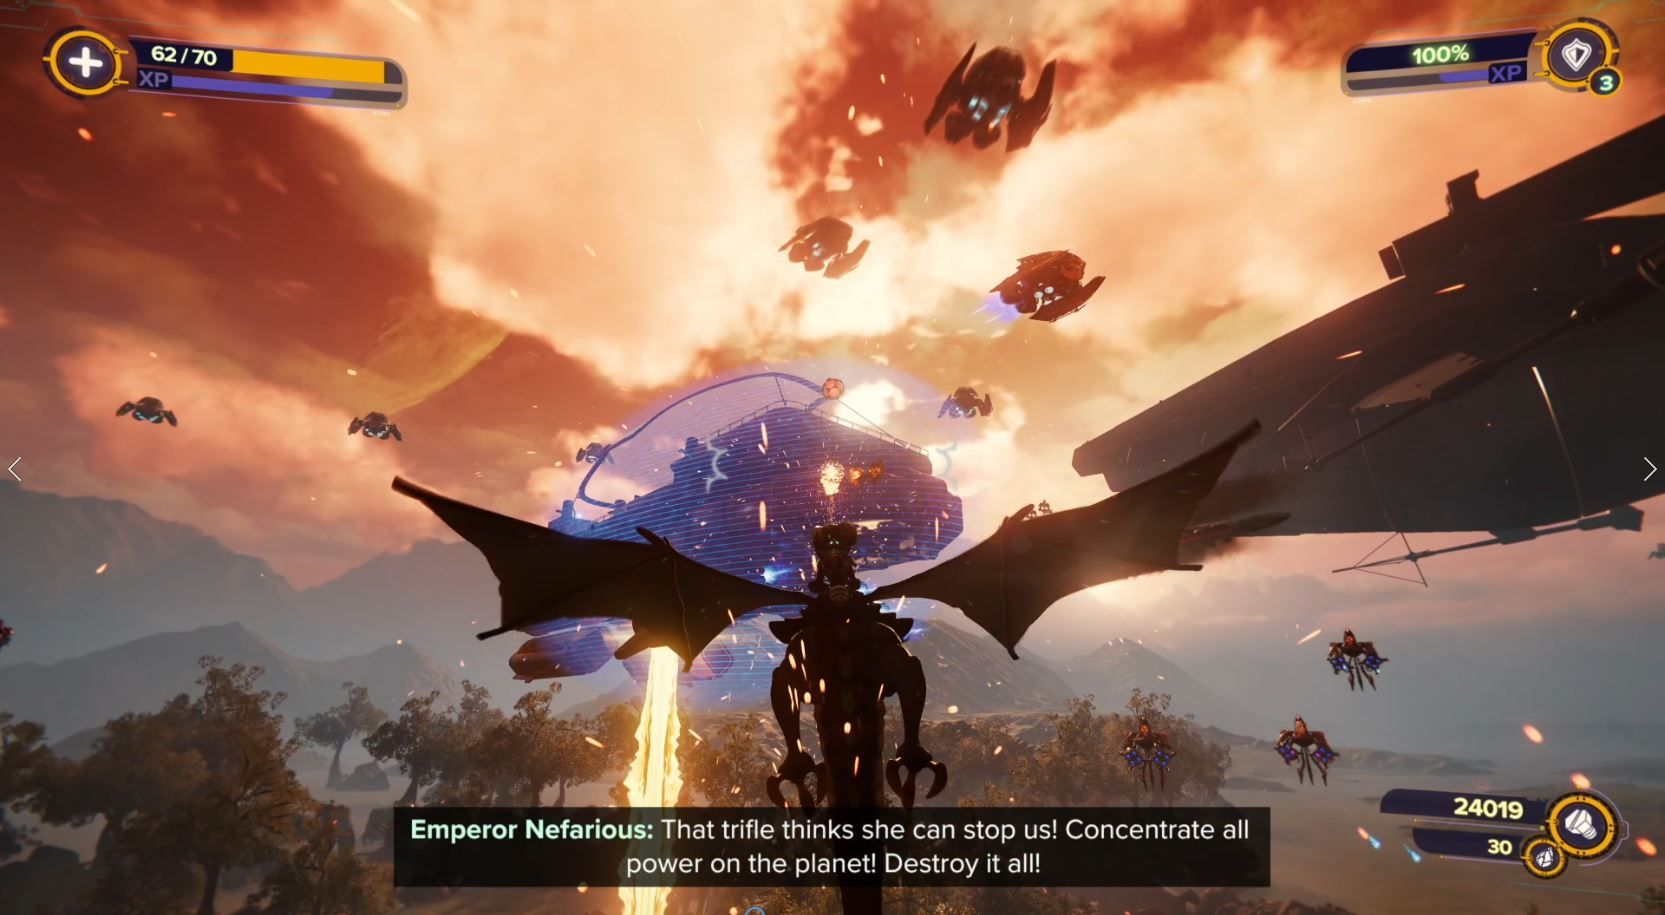
Fly towards the other Nefarious ships and attack the flying enemies by holding R2. Fly under the canopy of the first ship and shoot at the generator take it down. This will cause the other two ships to put shields up. Next, fly towards any of the blue pillars on the ground and press square to pick up a bomb. Turn around and press square again to throw the bomb at the ships with shields up. Repeat this process to knock out the rest of the ships. Once they're all taken down, you'll be treated to a cutscene that reveals more about rivets back story.
Help Trudi Side Mission On Sargasso
At this point, you should still be missing one gold bolt, one piece of armor, and one spybot. You'll be able to get all three collectibles by completing the Help Trudi optional mission. To start the side mission, talk to the Mort in front of the factory just to the left of your ship.
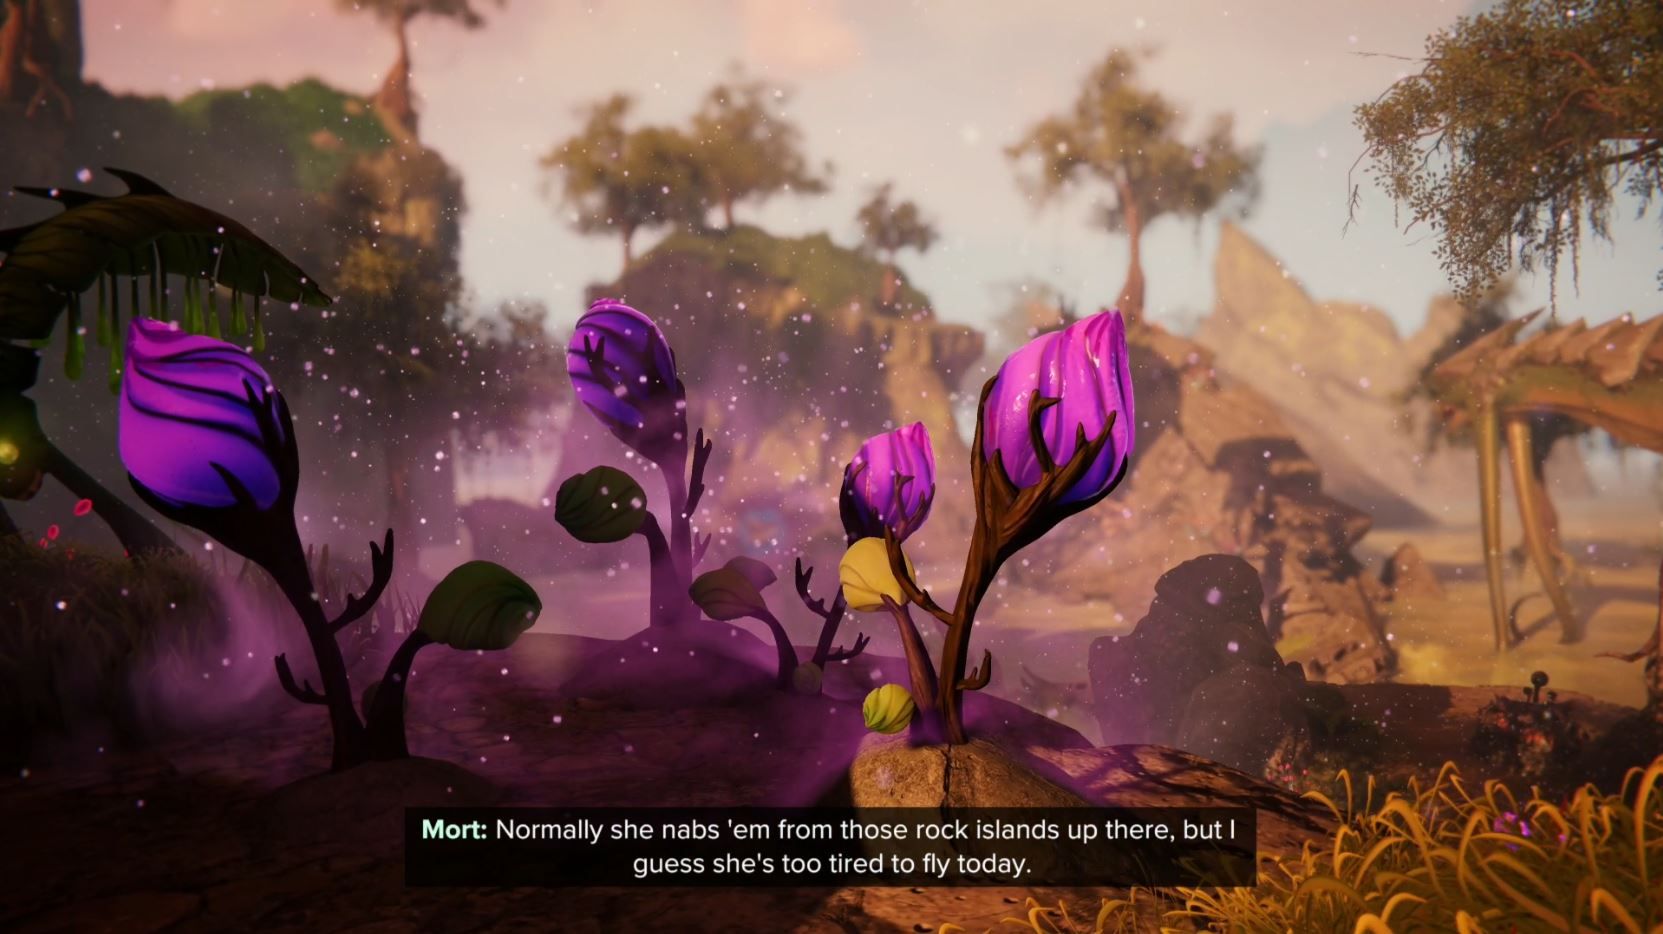
The Mort will ask you to collect Zurpstones for Trudi. Walk to the left of Trudi and you'll see a rift on a tall island on the left side of the factory. Pull yourself across and swing your hammer to collect four Zurpstones. Jump down to the right and collect three more below. Strike the next and mount the Skeetle that spawns. Ride along the path as it curves counter-clockwise, making sure you run through all of the Zurpstone plants along the way. By completing this route you should have 20 Zurpstones. Return to Mort and he'll ask you to collect 15 more Zurpstones. Luckily, they'll all be marked on your map this time.
Run down the ramp opposite mort and you'll find a stone underneath it and two more in the center of the island your now on. Ride the elevator next to the three blue buttons to find another. Drop down and look north, you'll see a small island with a rift. Use your boots to fly towards it, double jump, and grab the rift as soon as you can. Grab the stone here then zip back across two separate rifts. Grab the Skeetle here and ride way out to the north, past the last island, until you reach a long ramp. Hold R1 and run up the ramp, launch yourself until a tall, rocky island to find another one. Head back to the factory and head around the right side of it. At the back is another Zurpstone. Back on the other side, head down the ramp, jump across the bridge, and turn right back towards Rivet's Hideout. You'll find another stone tucked away just inside the first door on the left. Back outside you'll find five more Zurpstones near the buttons you used to unlock to door to the hideout originally. That should take you to a little more than 30. Return to Mort and he'll give you the fourth armor piece.
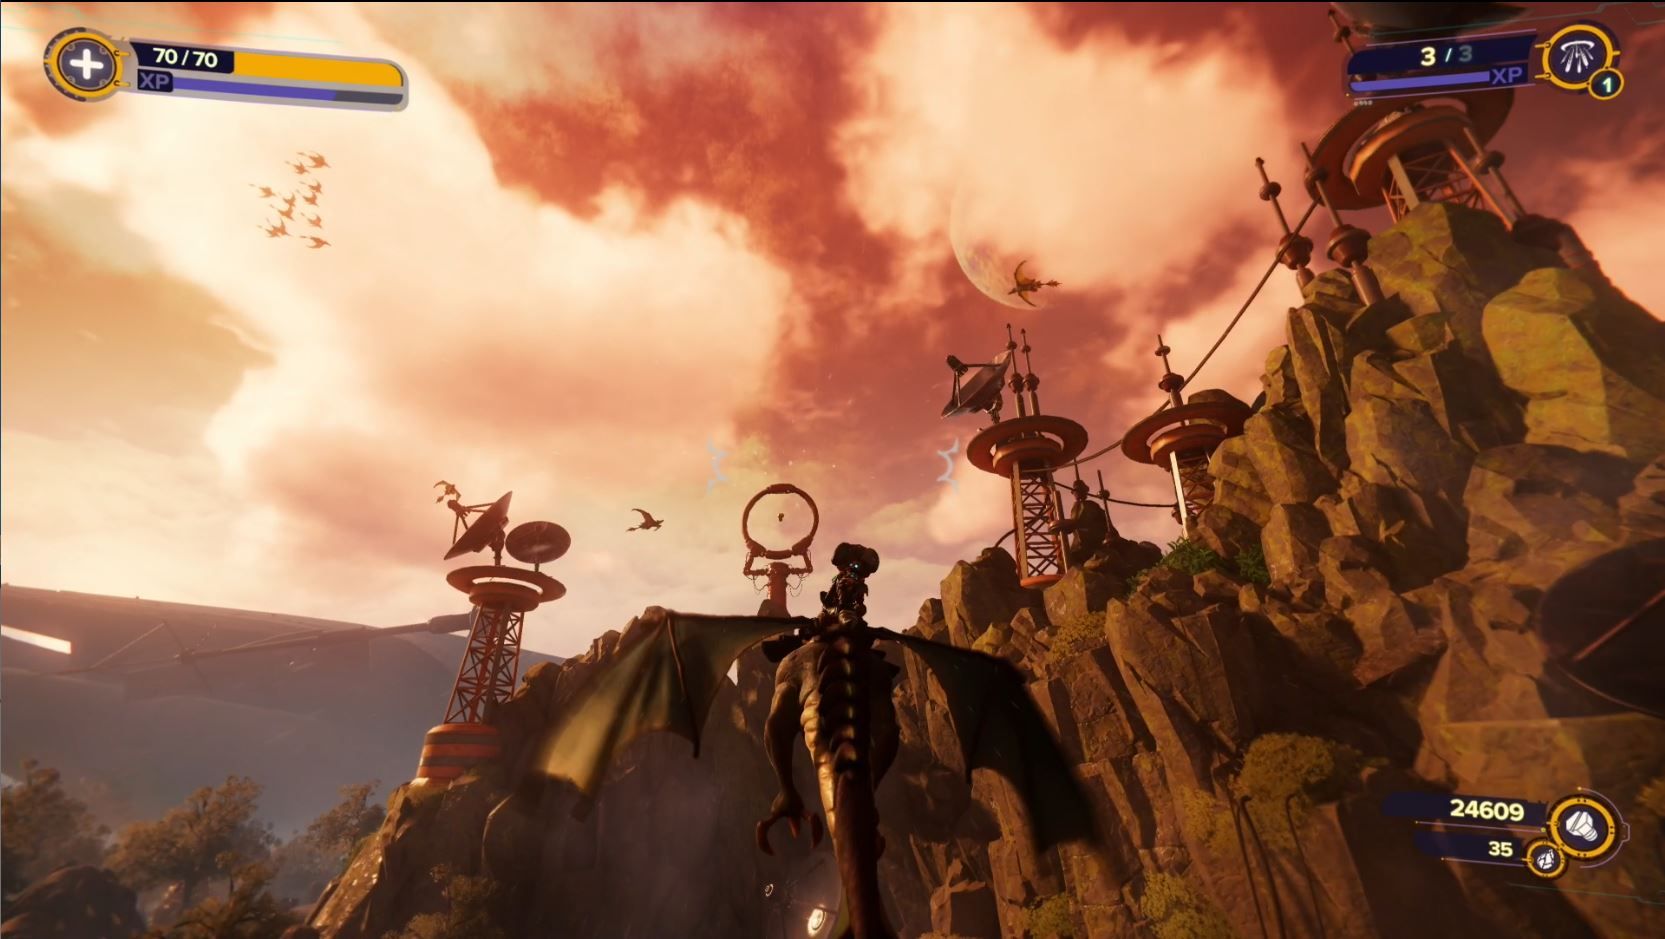
Mort will then ask you to collect the rest of the Zurpstones with Trudi's help, so hop on Trudi and fly straight ahead and up to grab the third golden bolt from the center of a ring up on the mountain.
All your missing now is a spybot, and you'll need to collect all of Zurpstones to get it. Open your map and tag the closet Zurpostone you can see. Keep in mind that you won't be able to collect any of the high-up Zurpstones for now. If you see on a building or mountain that you wouldn't be able to get to on foot, ignore it for now. Fly around from landing point to landing point collecting Zurpstones until you have 45, then climb back on Trudi. Now Trudi can use her flame breath attack to collect the final 15 Zurpstones. Simply open your map, tag a Zurpstone, and fire your flame breath at it by pressing R2. It will only take a few minutes to find the last 15 Zurpstones. Return to Mort and collect the Sargasso Spybot to finish 100% complete Sargasso.

