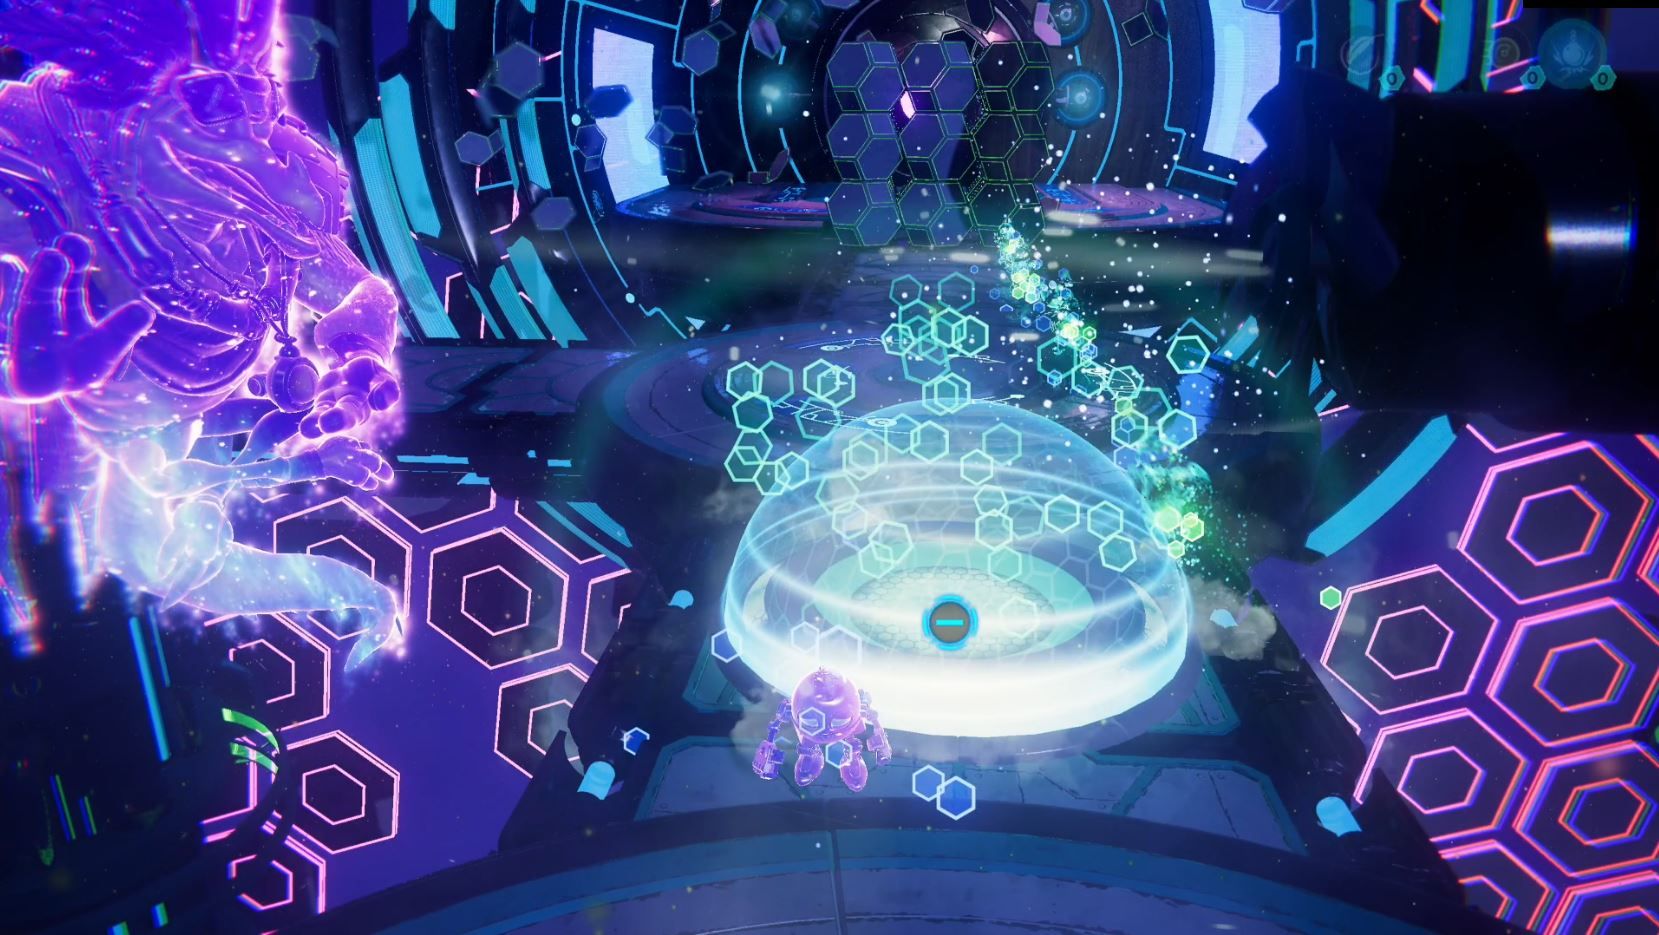
After her first visit to Zurkie's, Rivet travel to the Blizon Mines on Blizar Prime to look for the energy Clank will need to power the Dimensionator. While Blizar Prime is one of the more difficult planets to navigate, it's also the first planet Rivet can visit that doesn't require multiple visits. There are two armor pieces, three gold bots, and one spybot to find on Blizar Prime. Here's the best path through this planet and where to find all of the collectibles.
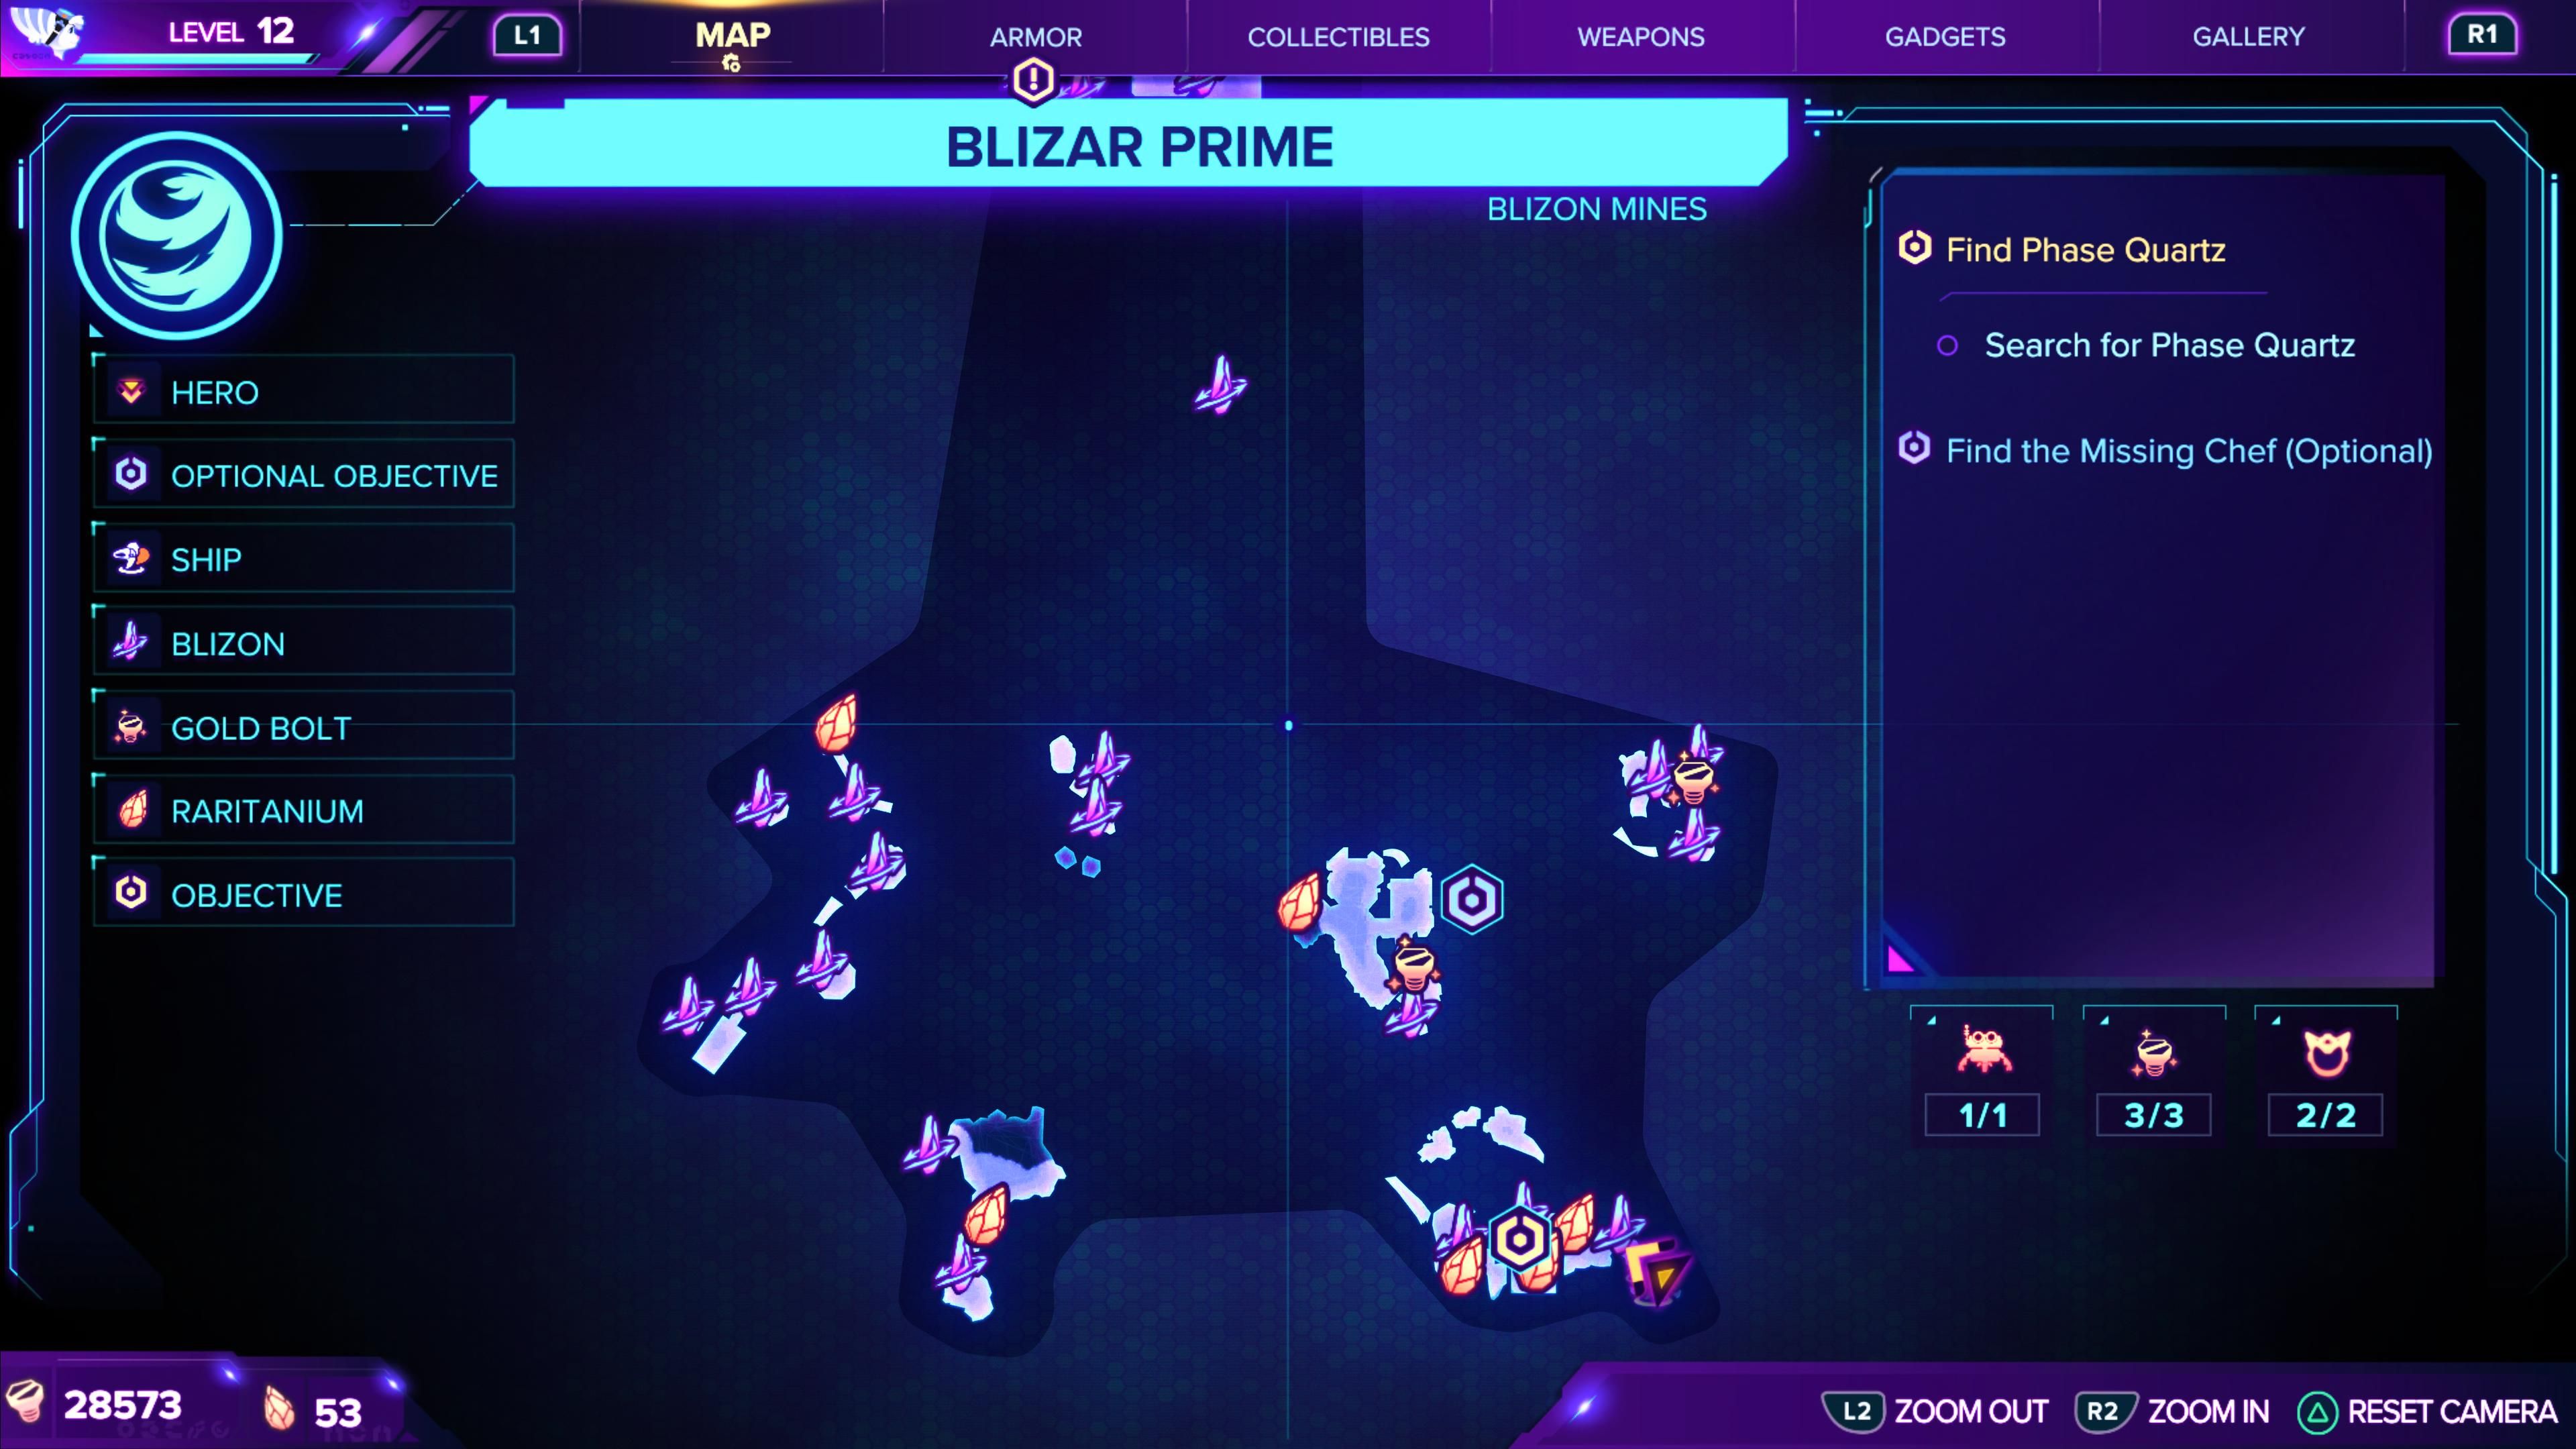
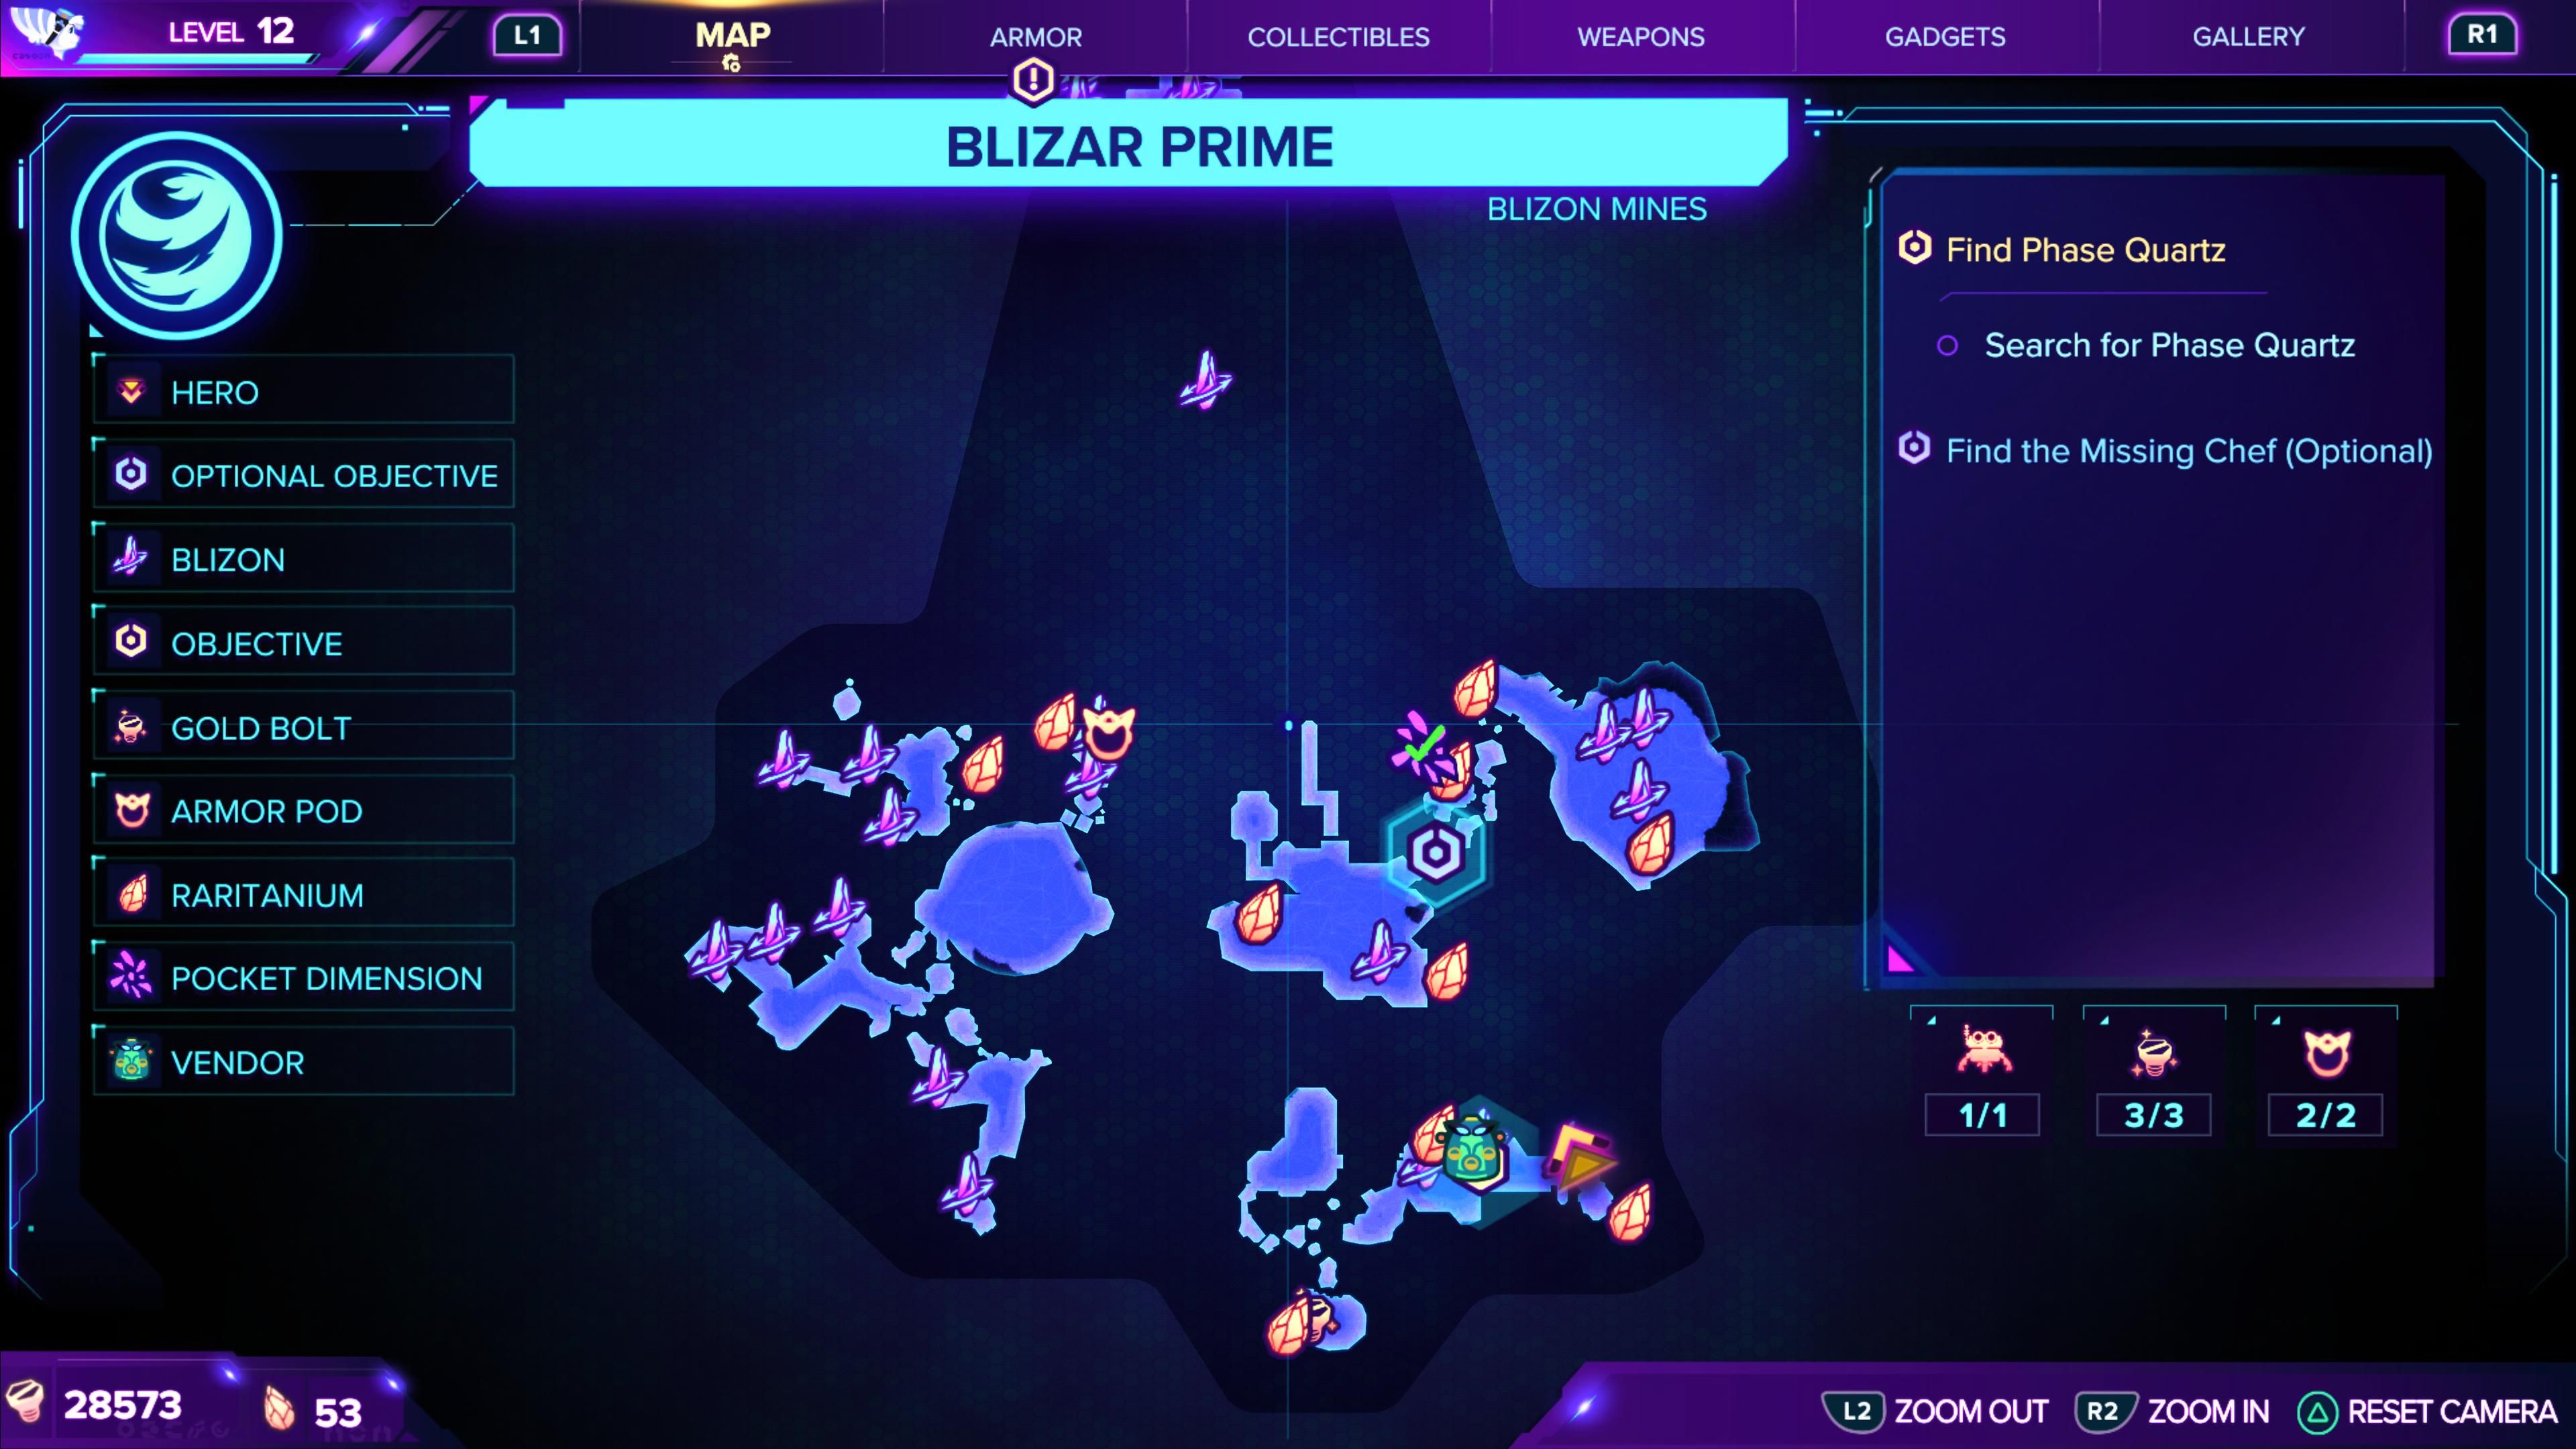
If you're just looking for a picture of the map with all of the collectibles, here it is. Keep in mind that this world is unique in that Rivet will travel back and forth between two different dimensions, so there are two unique maps to reference.
Ratchet And Clank: Rift Apart - Blizar Prime
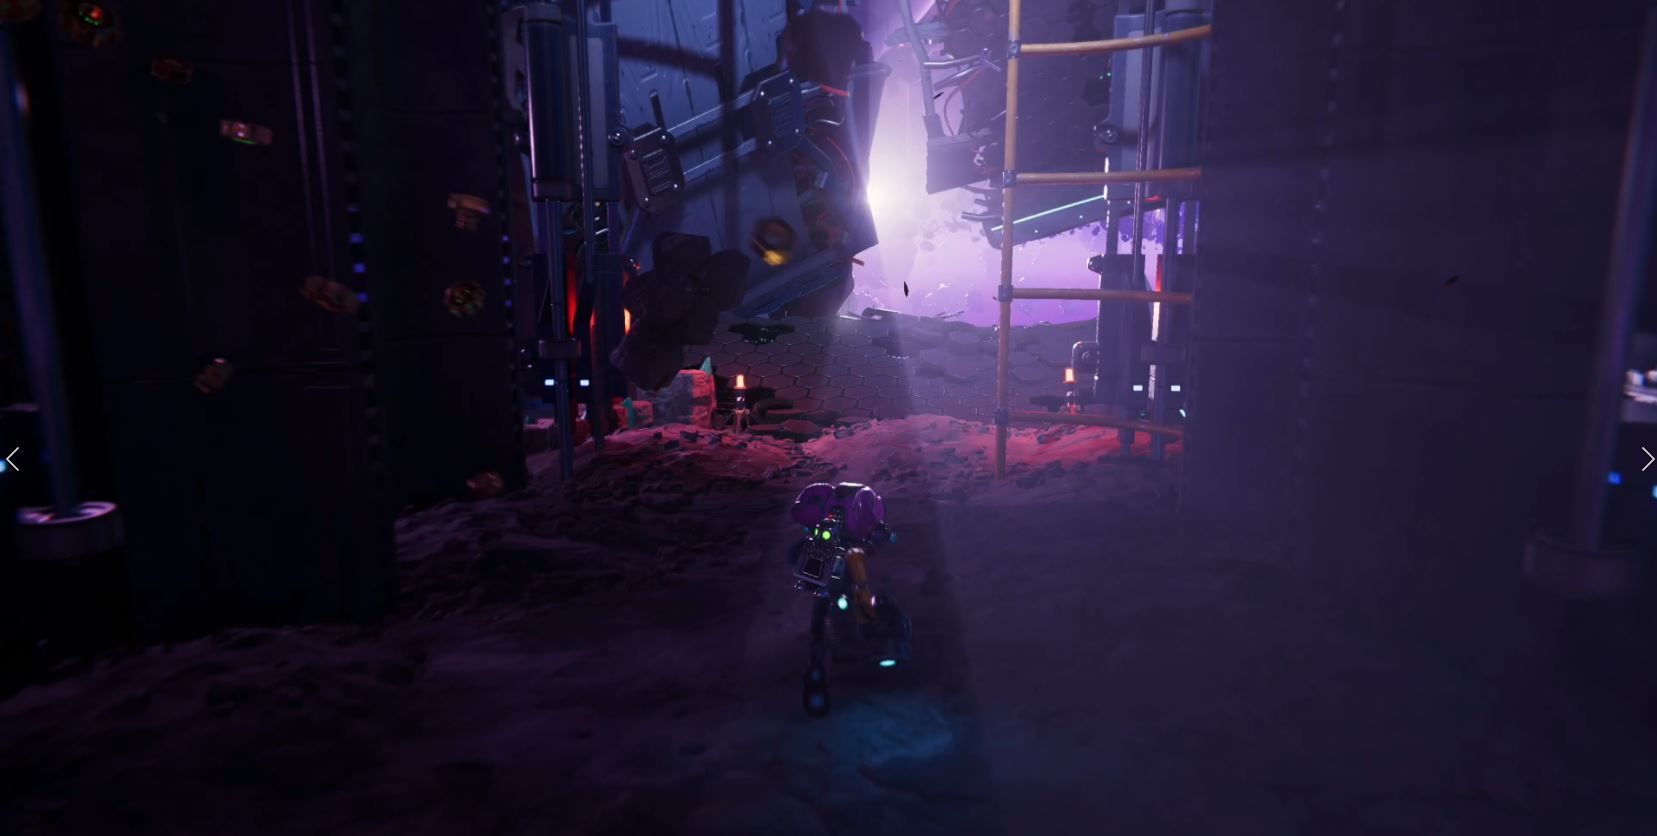
Head forward and to the left to grab a Raritanium crystal next to the blocked door. Give a smack to the Blizon Crystal behind you to swap dimensioned. Fight the crabs, then the door in front of you will unlock. Smack the Blizon behind Ms. Zurkon to swap back to the destroyed dimension. Grab the Raritanium crystal in the opposite corner, then launch yourself onto the broken Mag Surface outside the window.
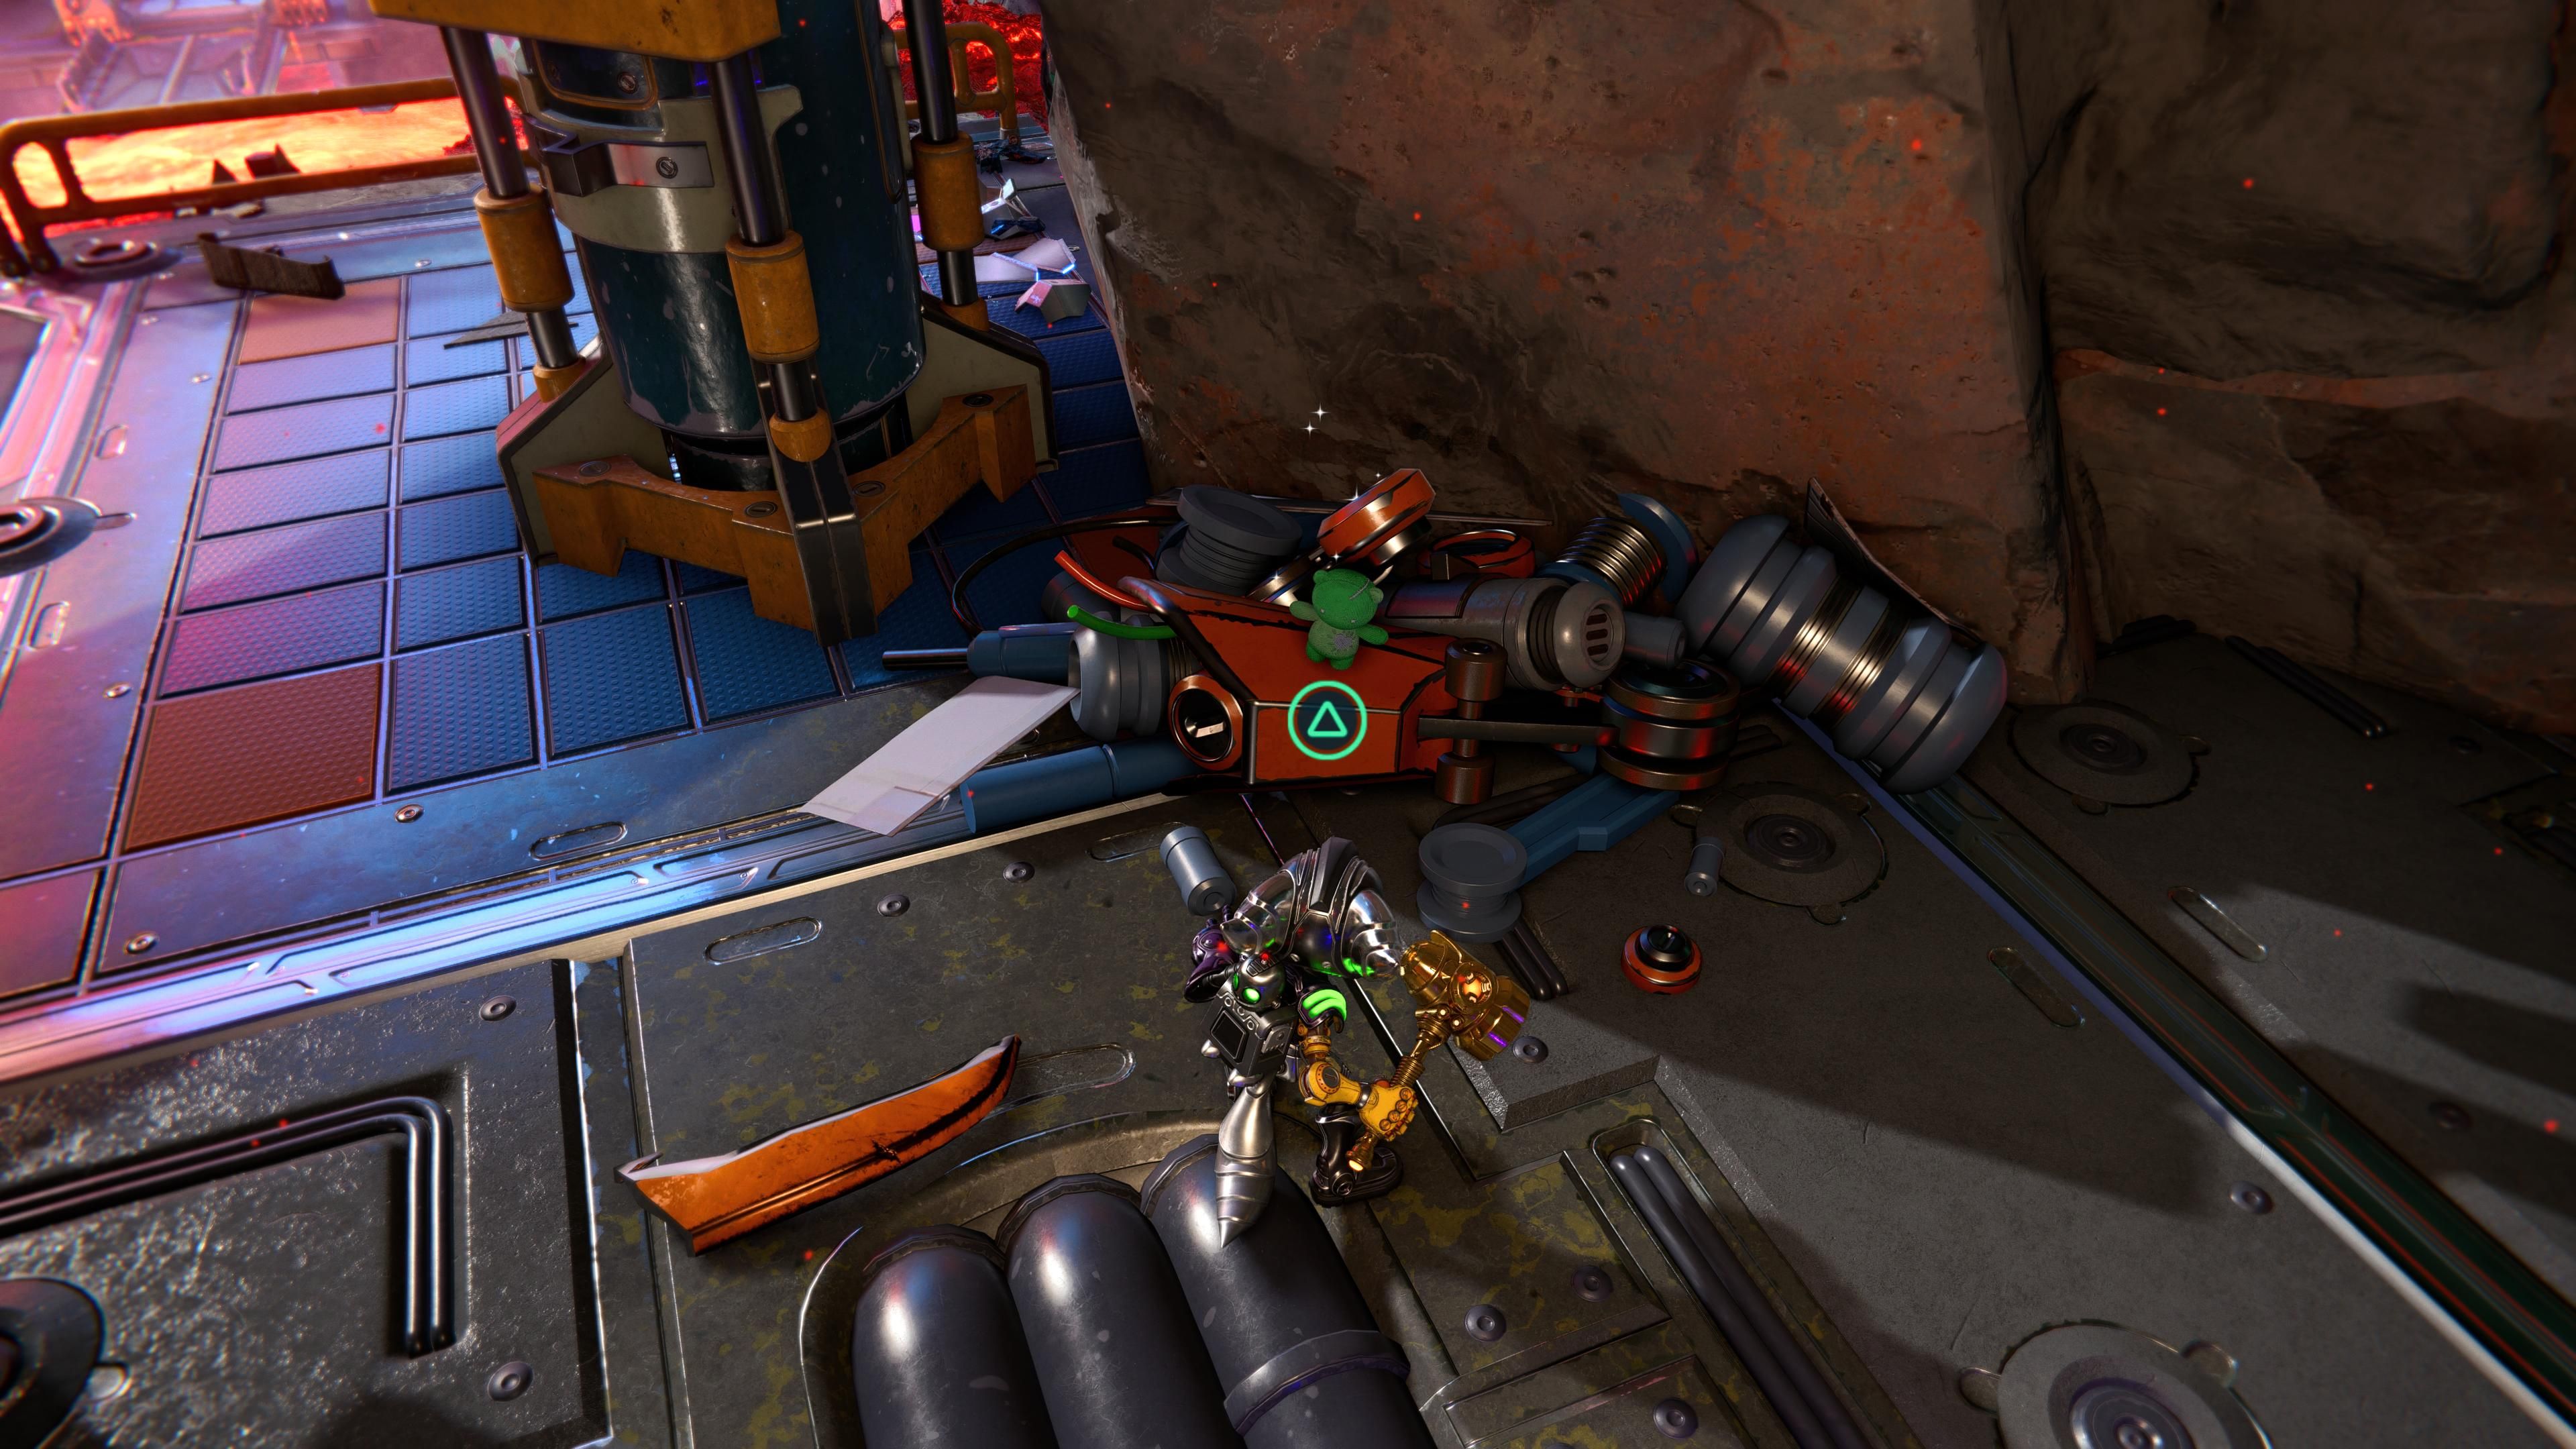
Walk off the platform then jump across the next three, breaking all the boxes along the way for free bolts. At the end of the path, mag jump to the next surface and push forward. You'll need to fight a few Nefarious forces before you can mag jump to the next one straight ahead. When you get to the top you'll find three Raritanium in the corner before you hit the Blizon to switch back to the living universe. There is a green craiggerbear you can collect just to the left as you enter the room. To the right of the window is three more Raritanium.
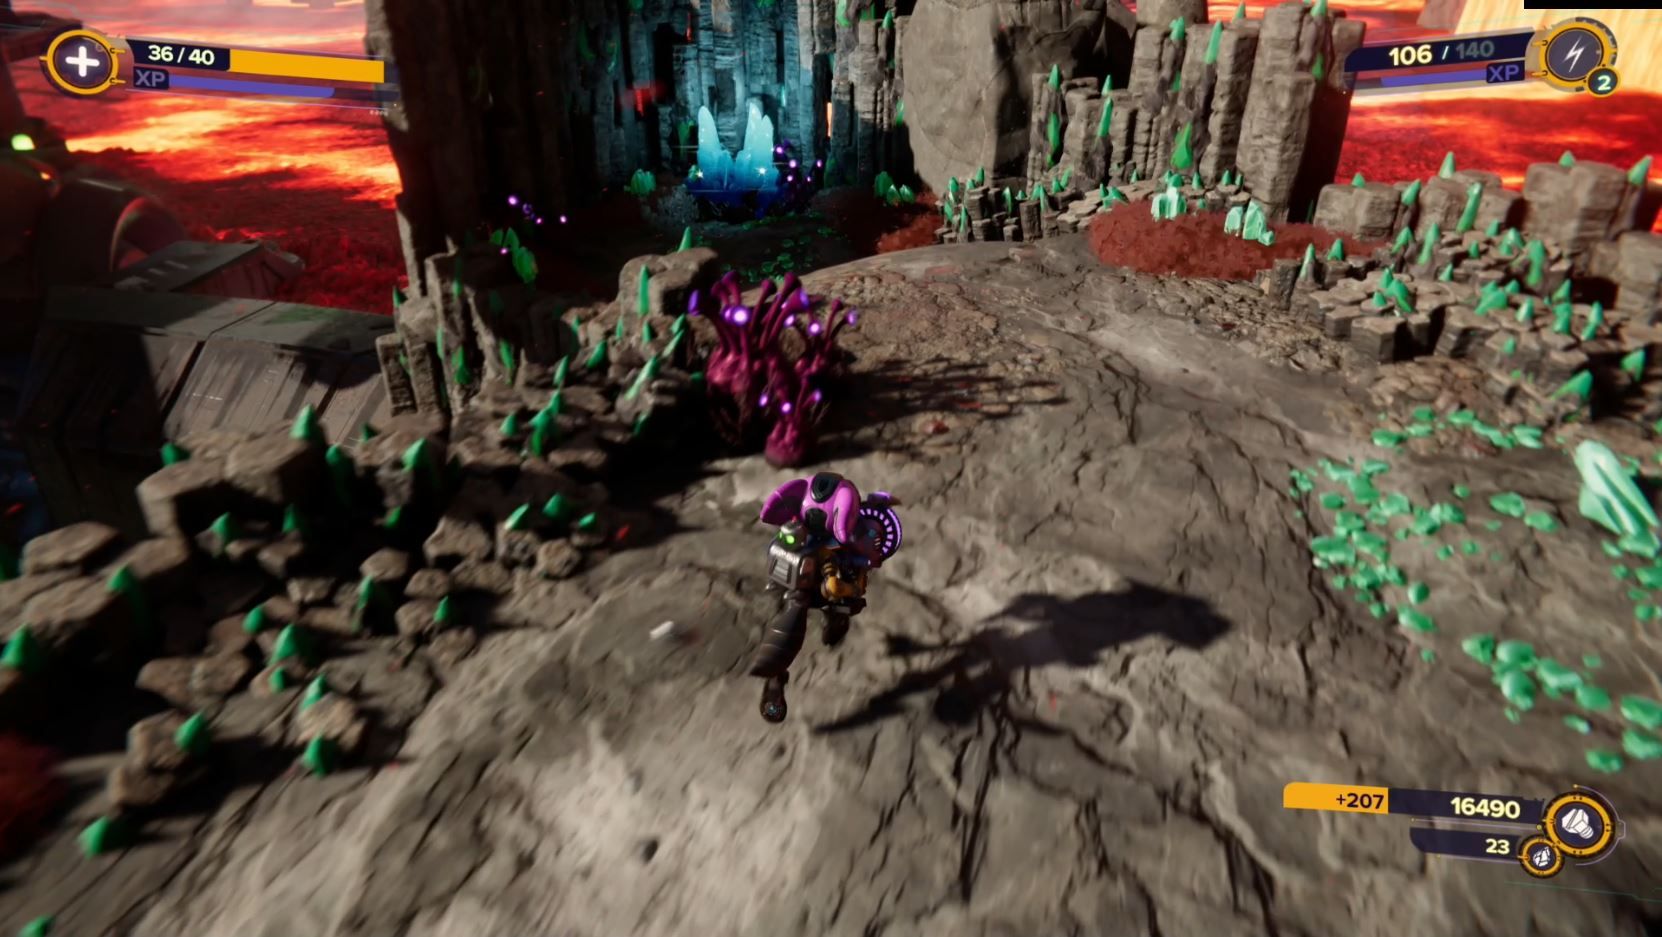
Interact with the green computer in the middle of the room to open the door. Leave the room and head left. Jump across the lava, but follow the path that goes left instead of straight. When you get on solid ground you'll find three Raritanium around the wall to the right. After grabbing those, turn around and head back, hugging the right wall. Jump over the lava and find the first gold bolt all the way at the top.
Head back and make your way along the path to your left until you hit a cutscene. The Goons-4-less will arrive and you'll need to find all of them before you can progress. Follow the path to the left and you'll end up on an elevator that looks like a dead-end.
Find The Missing Chef (Optional)
When you get off the elevator, grab the Raritanium on the right then head into the mining hub. Walk to the opposite end of the area and veer off to the right. Here you will find the path that leads to the "Find The Missing Chef" side mission. Head down the path and meet the Sous Chef. Continue on the path fighting the crabs along the way. Take the left path and jump over the lava to find a pocket dimension.
Pocket Dimension 87-84-20
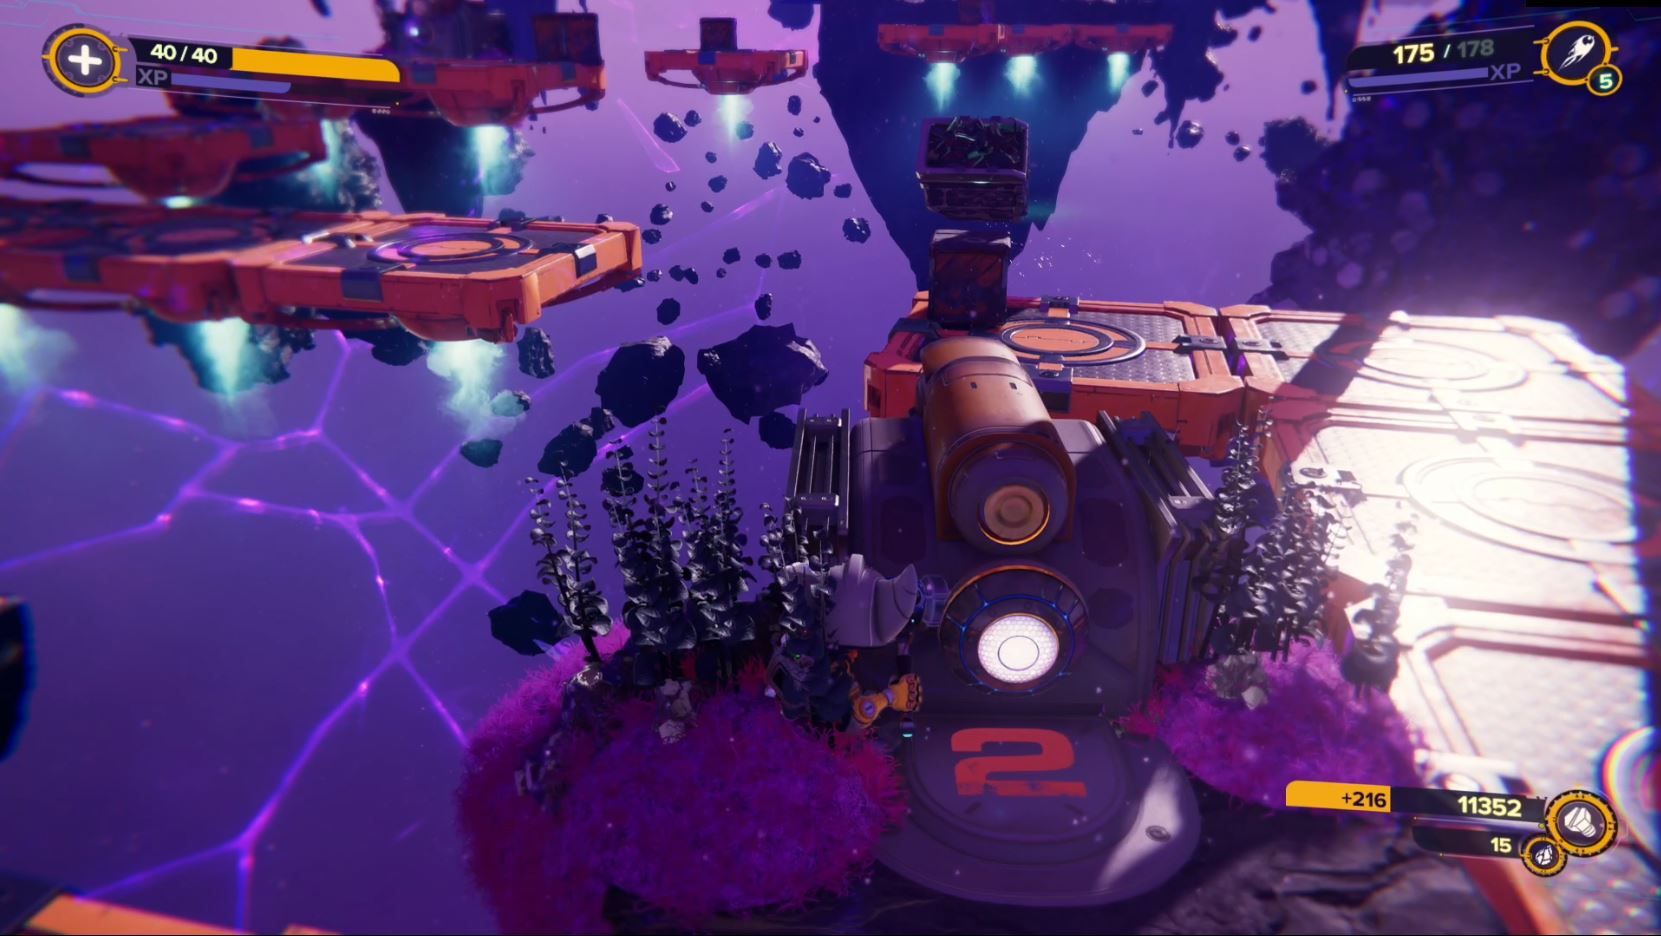
Smash the Raritanium on the right, then turn to face the floating boxes. They're actually standing on invisible platforms, so just jump from one group of boxes to the next. When you see machines with numbers under them, smack the front to briefly reveal the platforms ahead of you. There are three sections you'll need to clear here before reaching the end and claiming the first armor piece.
Turn back the way you came and head back into Blizar Prime. Jump up the steps ahead of you and jump down onto the metal platform. Cross the flaming platforms, hit the jump pad, and claim the Raritanium ahead of you. You'll have to fight a few goons before dropping down from this platform and heading into the cavern.
Inside, smack the Blizar Crystal to switch dimensions, make your way across the mag surface fighting the robots along the way. When you get to the Blizar Crystal on the other end, you can either boost across the gap if you already have the hoverboots, but if not, you can hit the crystal, cross over the high path next to you, then hit the crystal to go back. Either way, grab the second gold bolt before you move on.
Back in the living dimension, leave the cave by jumping on the jump pads and wall jumping to the top. Don't miss the Raritanium right at the top. Walk forward to start the encounter.
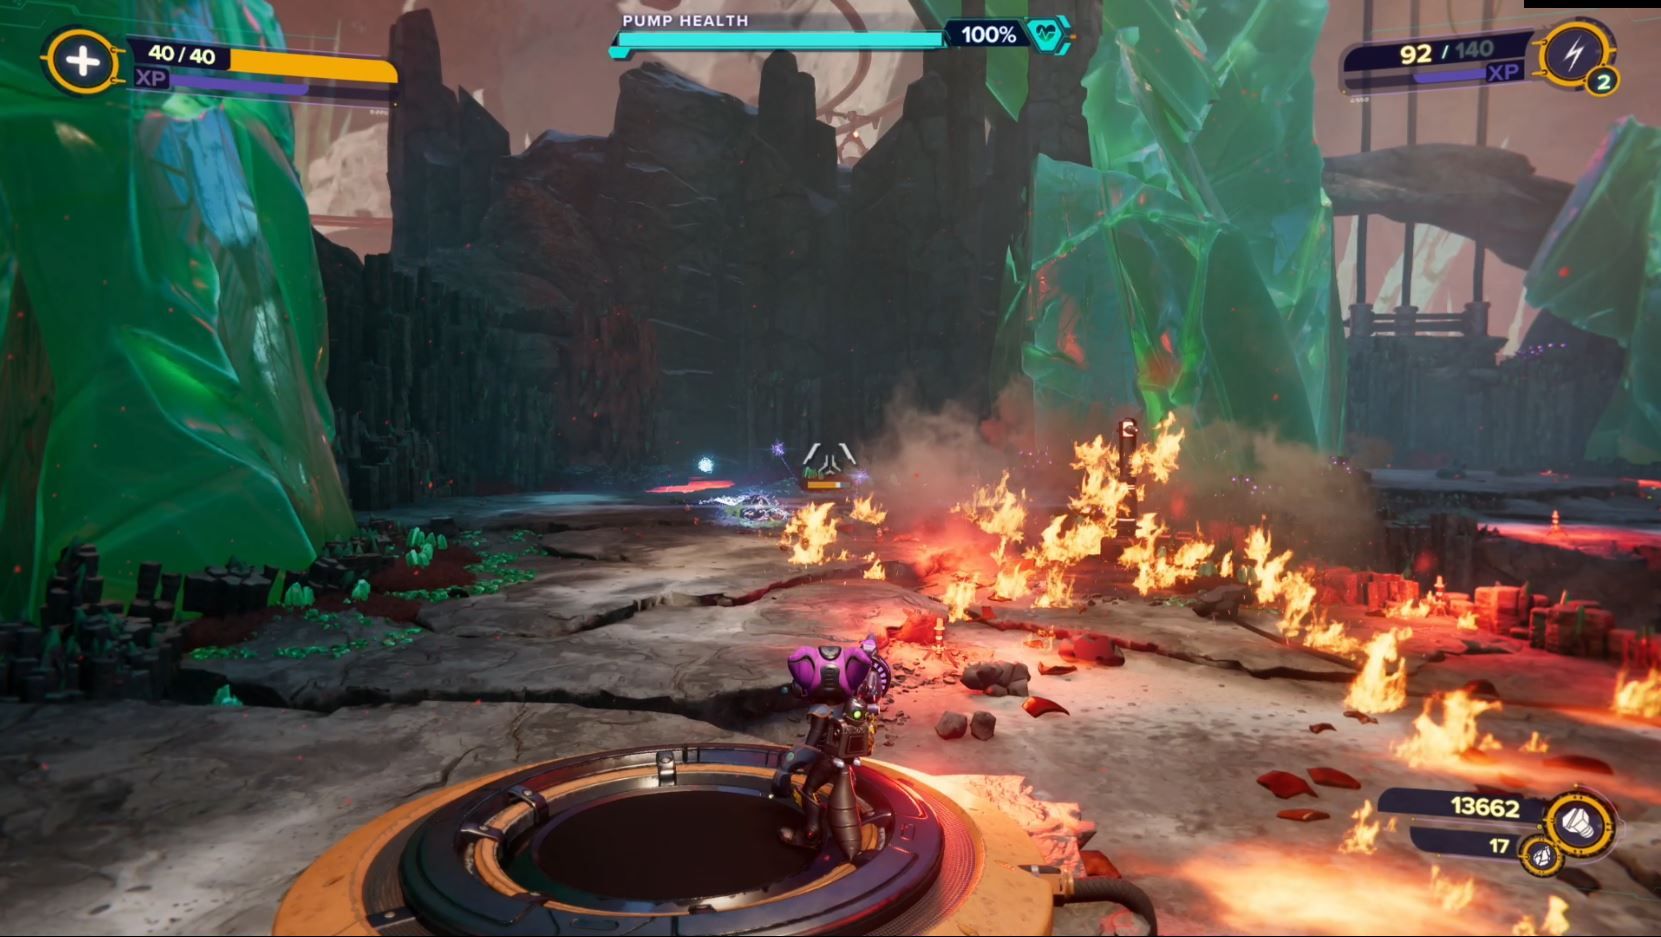
All you need to do is defend both the left and right path so that enemies don't reach the VAC-U-SAK. Activate the switch with your hammer, then jump into the arena. If you start to get overwhelmed, step on one of the green buttons to make fire erupt from the ground.
Depending on what patch you're on, you may run into an issue with the enemy spawn. Walk to the end of the path and look closely at the lava to see if there are any enemies that are struggling to jump out. If you've killed everything, you should be able to finish this challenge. If there are no enemies and it still isn't ending, just pause and select Restart From Last Checkpoint to start over. It took me three tries to finish this activity without a glitch.
With the VAC-U-SAK defended, the Chef will reward you with the spybot. Walk forward onto the elevator to return back to the mining hub.
Find The Chief Engineer
There's one more bolt to get in the mining hub. Head back towards the entrance and jump behind the boxes to make your way up to a crystal. This will take you to to the destroyed version of the Mining Hub. Head north to where the destroyed elevator is and walk through the shaft. On the other side, you'll find a Mag Surface you can jump onto. Jump from there to the next one above your head, then to a third one ahead of you, and finally, and a fourth one above you. Grab the third gold bolt and jump down. Hit the crystal to swap back to the living Mining Hub.
Back at the Mining Center, you may have noticed a Blizon Crystal on top of a box near the entrance. Ignore that for now, that's the exit to a later puzzle. Head to the west towards the quest marker to continue on. Step onto the elevator at the end of the pass to find the Chief Engineer at the Survey Station.
When the cutscene ends, walk out of the center chamber and towards the northeast exit. Jump across the platforms in the lava and strike the Blizar Crystal at the end. Jump onto the spinning cube, onto the platform above it, and then onto the platform to the right behind the exploding boxes. Strike the Blizar Crystal at the end and claim the second armor piece.
Return to the Survey Station (after grabbing three Raritanium from the platform adjacent) and head west towards the objective marker. At the end of the path, turn right and take the short path to your right to grab some Raritanium. Jump back to the main path and fight your way forward, jumping from platform to platform. Collection the Raritaniumin at the corner of the big platform where the crabs spawn.
Head inside the cave and the floor will collapse. Follow Science Bot B.O.B. to the Blizar Crystal and strike it to switch dimensions. Walk along the Mag Surface and fight the bots along the way. Make your way forward until you find another Blizar Crystal to hit. Follow the path forward and fight the goons. Once they're dead, look back the way you came to find a pile of Raritanium behind you.
Head inside where the goons were coming from and walk towards the Blizar Crystal. It will explode, breaking the glass. Walk inside the lab and to the right where you'll find another Blizar Crystal. Strike it to switch the to dead universe and head back out to the main room. Jump through the hole in the glass on your right and hit the crystal on the other side. Here, J.I.M. will return to the Engineer. Make your way back the way you came and head left when you get back outside.
Fight the goons that spawn here then hit the new Blizar Crystal. Move across the Mag Surfaces here until you reach the next crystal. Hit it to return to Rivet's universe, then fight the goons in front of you. If you jump up the flaming platforms on your right, you can reach four Raritanium at the top. Head up the ramp, past the Blizar Crystal, and activate the switch infront of the crystal attached to the claw. Move the crystal across the gap, then double back and smack the crystal at the top of the map. Head to the end of the path and hit the crystal that you just moved. S.A.M will return to the Chief Engineer. Grab the rift ahead of you and return to the ramp.
Backtrack a few steps and get on the moving platform that takes you back to the Survey Station. Here you'll need to fight a Displaced Juggernaut and a bunch of crabs. Once their defeated, head to the east side of the platform and follow J.I.M. onto the elevator straight ahead. Grab the Raritanium behind the boxes on the left, then head back into the Mining Hub. Take the northeast path towards the anomaly and activate it by pressing triangle
Clank Anomaly Puzzle On Blizar Prime
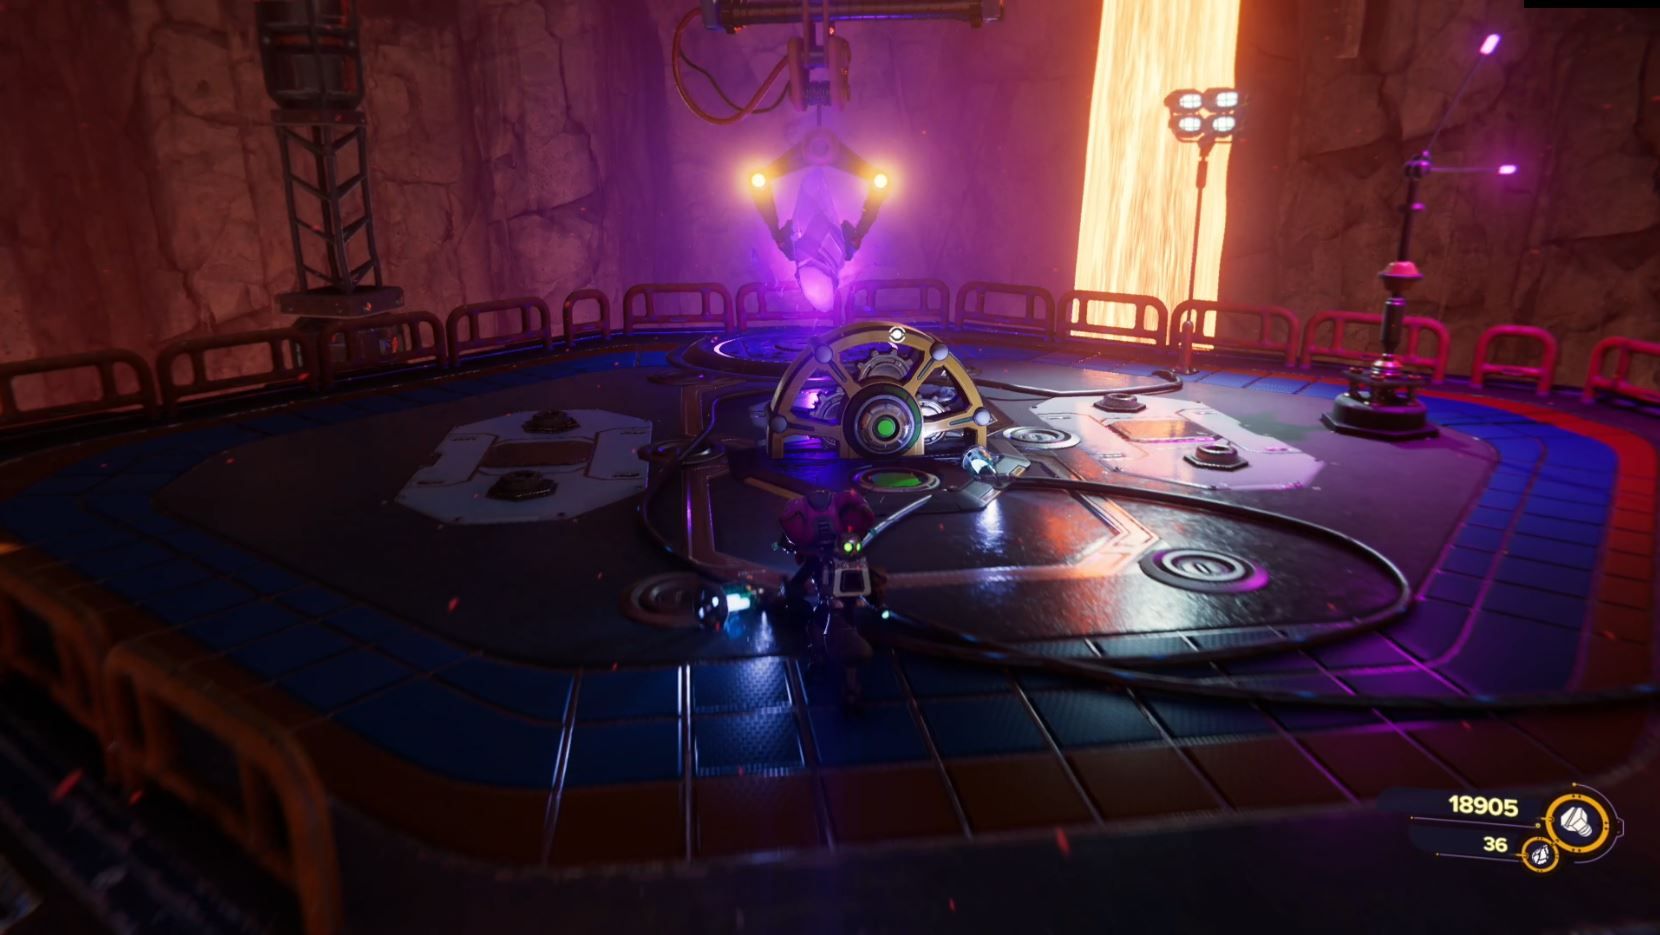
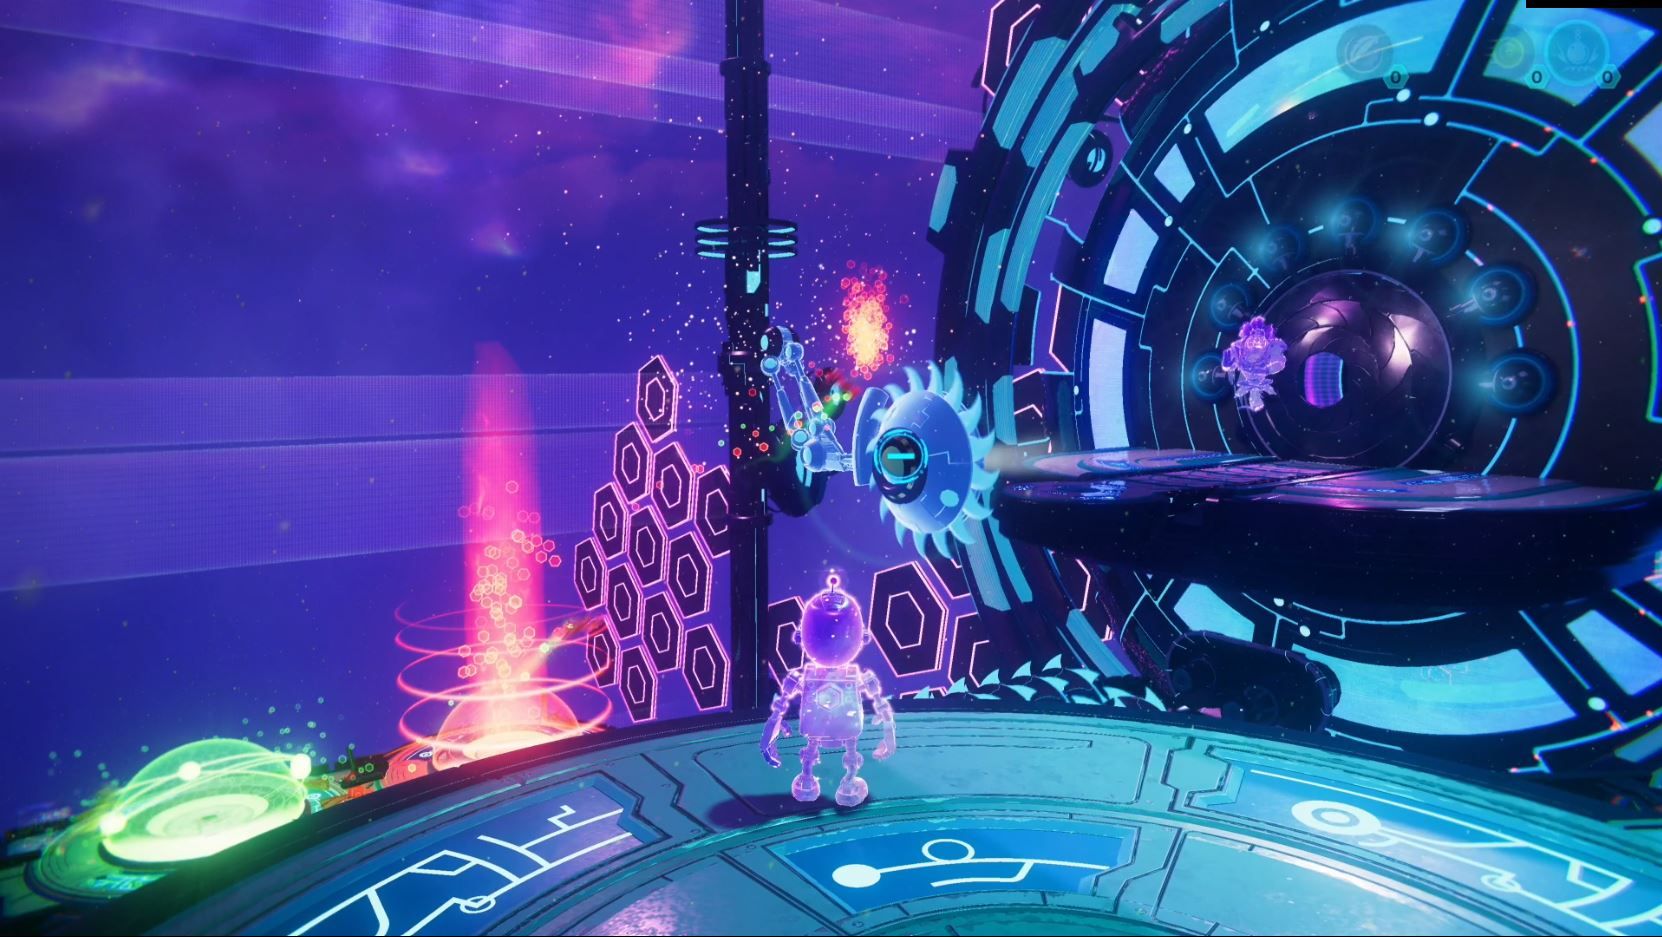
This is the second anomaly puzzle after you're first introduced to them on Sargossa. Head straight down the path and break the boxes to get the blue orb. Toss the blue orb into the floating platform to weigh it down. Grab the second blue orb on top and load it into the spinning saw straight ahead to lower it so it breaks the polyhedrals. Retrieve the blue orb from the saw and head back to toss it into the very first port. Stand on the blue button and watch your potentials open the door.
In the next chamber, break the boxes ahead of you and take the right path. Jump onto the elevator and grab the red orb. Put the red orb in the port behind you on the left side of the main path and use it to jump onto the high pillar where the blue orb is. Take both orbs then head back to the elevator. At the top, put the red orb in the smasher and the blue orb in the tall pillar to lower it down. Grab the green orb, blue orb, and red orb and head back to the center. The blue orb goes in the saw, the red orb goes in the furthest port, and the green orb goes in the port right before the red one. Press circle to teleport to the exit and enter the next challenge.
Head forward and follow the pass to the blue orb. Put the blue orb in the dual spinning saws ahead of you and jump over them to get the red orb. Retrieve the blue orb then put the red orb in the smasher. Run under it and get the green orb.
Put the red orb in the first port so that the potential clanks jump over the third fan. Next, put the green orb in the next port to speed up the potentials after they jump. Finally, put the red orb in the next port so that the potentials run through the fan and straight into the hall of polyhedrals. The potential Clanks will break through the wall, finishing the anomaly challenge.
Activate The Blizar Drill
Once outside the anomaly, walk forward and activate the switch to unclog the tube. This will open the elevator on the north side of the mining hub. Ride the elevator up and fight the enemies that spawn at the top. Jump on the grind rail and ride it to the drill. Jump over the minecarts and switch to the left path when you reach the wall. At the end of the path strike the crystal to switch dimensions. Jump off the rail and swing with L1, then run on the walls that pop up. Pull yourself through the rift at the end, then ride the rail, switching back and forth every time you see a crystal. Eventually, you'll make your way to the drill.
Activate the switch in the top right corner to turn on the drill. This was apparently a mistake and will cause several waves of goons to spawn as the Chief Engineer tries to shut the drill down. When the Phase Quartz appears at the center of the drill, use your hammer throw to knock it out. This will teleport you to a new arena, so fight all of the bots here then strike the Blizar Crystal to return to the drill. Continue fighting the goons until the Goon Dropship spawns. Destroy the dropship to send it careening into the drill. The Phase Quartz will get destroyed and you'll be sent back to your ship at the start of the world
Next: Ratchet & Clank: Rift Apart - Torren IV Complete Guide & Walkthrough


